Start like an advanced producer: define the job before touching the DAW
Advanced production begins before the first plugin. Decide what the record is supposed to do: club pressure, vocal focus, cinematic movement, radio polish, underground roughness, sound-design identity or mix translation. Without that decision, every advanced technique becomes decoration.
Pick one reference for arrangement, one for low-end, one for vocal or lead placement, and one for overall loudness or finish. Level-match them. Write the actual jobs into the session notes so the track has a target.
Every complex move needs a reason you can hear. If the move only looks advanced on the screen, remove it.
Full tutorial: build the preflight brief
- Create a fresh session folder before opening the DAW. Add folders for project, bounces, references, samples, stems and screenshots.
- Choose three references: one for arrangement energy, one for low-end balance and one for final polish. Import them into the DAW and turn them down until they match your working level.
- Write a one-sentence job for the track. Example: "dark UK garage roller with a vocal hook, clean sub and a wide atmospheric breakdown."
- Mark the reference arrangement in bars. Note where the intro turns, where the hook arrives, where the breakdown starts and where the final energy lift happens.
- Set constraints before sound selection: BPM range, key, main drum feel, lead instrument, vocal role and one sound-design signature.
- Only then start producing. When the track drifts, return to the brief instead of adding more plugins.
Build arrangement architecture, not just loops
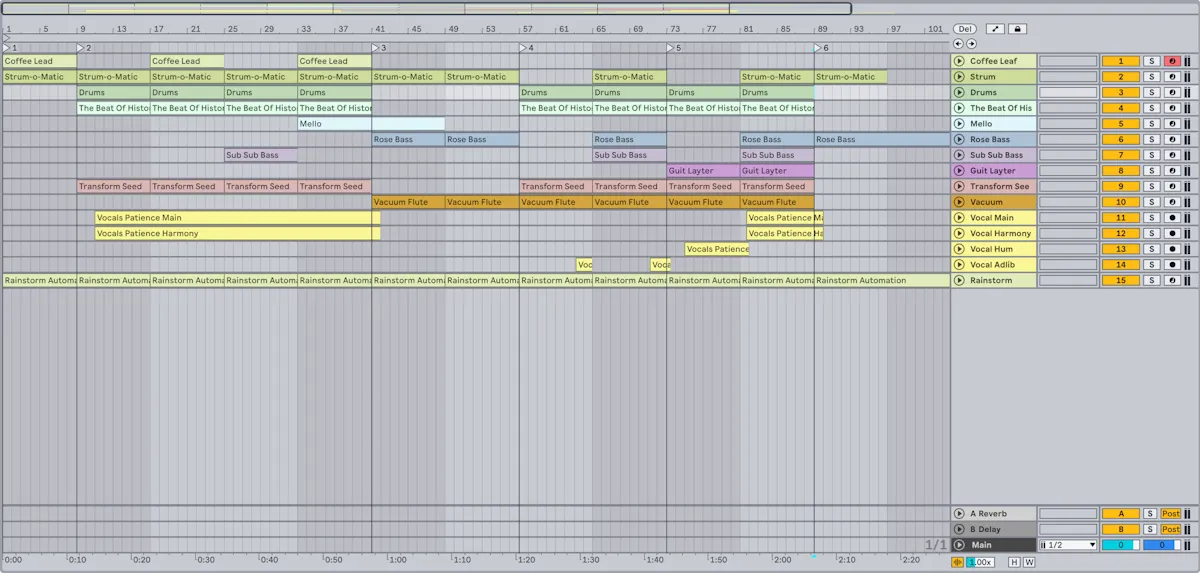
Beginner arrangements add and remove parts. Advanced arrangements manage attention. The listener should feel a clear change in density, register, rhythm, space or tone every time the section changes.
Work from a top-level map first. Then add micro-events: fills, filter moves, delays, reverses, mutes, pitch lifts, drum variations and silence. The best advanced arrangements use fewer parts with more deliberate movement.
- Use register changes instead of only adding more tracks. Move a chord up, drop the bass octave, or thin the midrange before the chorus.
- Automate sends, not only filters. A delay or reverb that appears for two words can create more drama than a new layer.
- Use drum density as a section marker: ghost hits, open hats, rides, fills and percussion mutes change energy without changing harmony.
- Leave one obvious gap before the biggest moment. Silence is an advanced production tool when it points at the drop or hook.
- Print arrangement ideas to audio when they become part of the identity. Audio is easier to cut, reverse, stretch and commit.
Full tutorial: turn an 8-bar loop into a full song
- Duplicate your best 8-bar loop across a rough 3-minute timeline. Do not improve sounds yet. Build the road first.
- Mute parts to create sections: intro, first lift, main hook, breakdown, second hook and outro. Use subtraction before adding new tracks.
- Create one obvious change per section: a new register, drum density shift, filter movement, vocal phrase, bass variation or silence before the drop.
- Add transition audio only after the sections work. Use reverse cymbals, resampled tails, drum fills and short mutes as signposts.
- Listen from start to finish without touching the mouse. Write down the first three moments where attention drops, then fix only those.

Advanced synthesis: design the role before designing the patch
Use the synthesis path as a system: oscillator source, filter tone, envelope shape, modulation movement, effects space and mix role. A sound is not advanced because it uses many modulators. It is advanced when it fits the track and moves in a way that supports the arrangement.
For deeper foundation work, use the public synthesis lessons on synth signal flow, oscillators, filters, ADSR and modulation.
Lead, hook layer, bass weight, mid-bass character, pad glue, texture, rhythmic gate, riser, impact or transition.
Choose one main movement driver: envelope, LFO, velocity, macro, automation, sidechain, audio-rate modulation or performance.
Decide where it lives: centre, mid-width, wide side, dry front, distant wash, sub mono or distorted upper layer.
- Reese bass: keep sub controlled and mono, then separate the detuned movement into a mid layer you can distort, filter and widen.
- Supersaws: control the low mids before adding width. Wide chords collapse when every layer has the same detune and reverb.
- Pads: build motion slowly with filter drift, wavetable position, chorus, autopan or subtle pitch movement. Keep the vocal range clear.
- Plucks: shape transient, decay and delay timing before adding more oscillators. The groove is often in the envelope.
- Trance gates: make the rhythm musically answer the drums. A gate pattern that fights the groove will sound clever but weak.
- Noise layers: high-pass, gate and automate them. Noise creates excitement only when it has boundaries.
Full tutorial: design a patch by role
- Choose the job first: sub, mid-bass, lead, pad, pluck, texture, riser or transition. Name the track after that job.
- Start with the simplest oscillator choice that works. Saw for harmonic richness, sine for sub, square for hollow bite, noise for air and movement.
- Set the envelope before effects. Attack decides how forward the sound feels; decay and release decide groove and space.
- Add one movement source. Use an LFO for repeated motion, an envelope for note-shaped motion, or automation for section-shaped motion.
- Place it in the mix while designing. If the patch only works in solo, simplify it until the track role is obvious.
- Save the patch, then resample a few performance passes so you can edit the best moments as audio.
Macro controls and modulation discipline
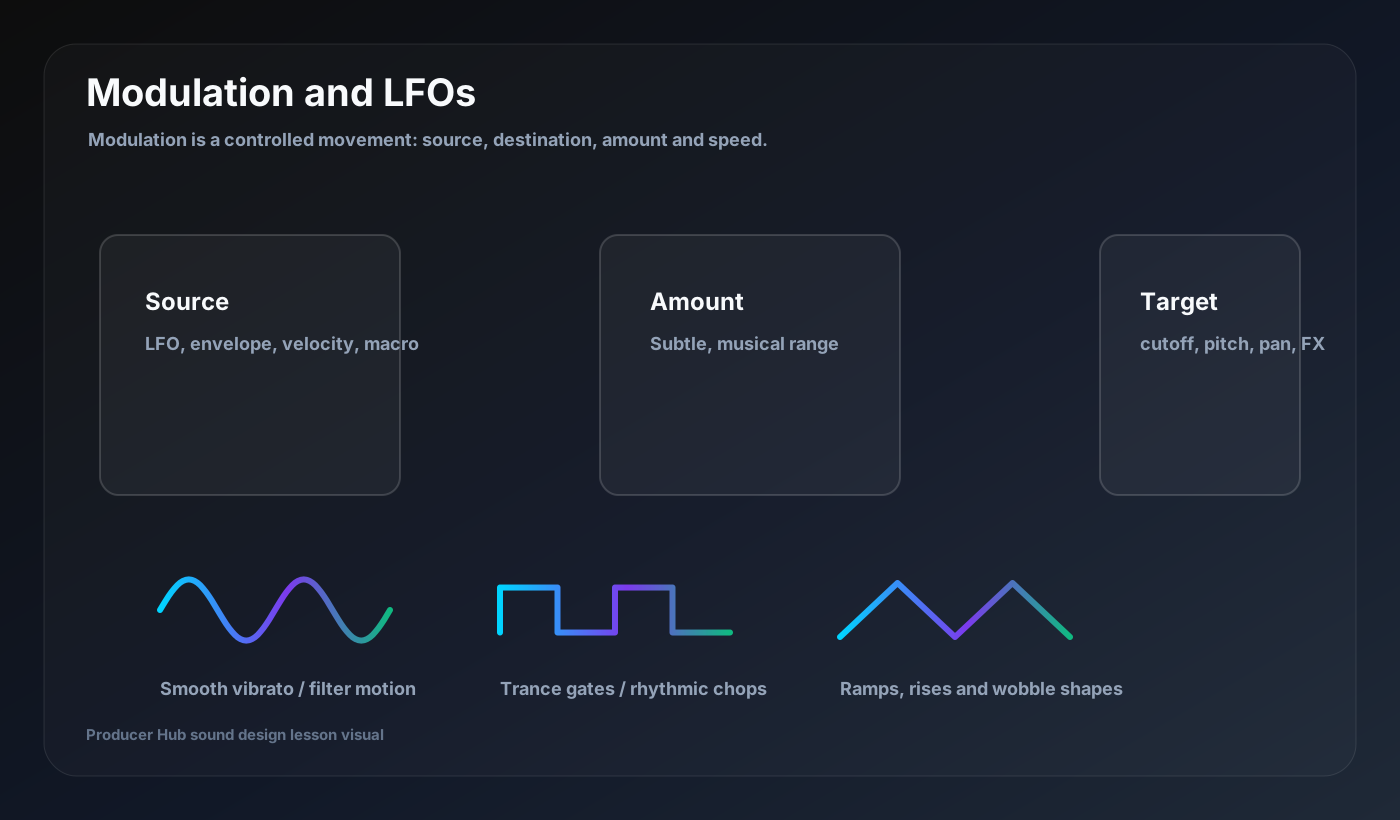
Advanced patches need performance controls. Map one macro to brightness, one to movement, one to aggression and one to space. Then automate those macros across sections instead of opening ten plugin windows during arrangement.
The trick is restraint: one LFO making the filter move can be musical; five unsynchronised movements can blur the hook. Movement should create identity, not distract from it.
Full tutorial: create four useful macros
- Map Macro 1 to brightness. Use filter cutoff first, then add small amounts of wavetable position or high shelf if the synth supports it.
- Map Macro 2 to pressure. Add drive, compressor input or unison density carefully so the sound gets stronger without jumping too much in level.
- Map Macro 3 to movement. Increase LFO depth, envelope amount or vibrato only enough to be felt inside the groove.
- Map Macro 4 to space. Blend delay and reverb sends so the sound can move from dry verse to bigger hook without changing patches.
- Record one pass moving the macros by hand, then edit the automation into clean section moves.
Resampling, printing and destructive sound design
Resampling is where advanced production becomes faster. Print the synth, vocal throw, drum crush, riser or bass movement to audio. Then edit the waveform like a performance: chop, reverse, gate, pitch, fade, stretch and place it in the arrangement.
Keep a muted backup of the MIDI or original chain if needed, but do not let backup safety stop the active track moving forward.
- Print heavy synths when the part is emotionally right, even if the patch is not perfect.
- Record delay throws and reverbs so you can cut tails cleanly around the vocal or snare.
- Resample bass movement, then separate sub and mid layers for more stable mixing.
- Commit glitch, granular, reverse and stutter effects to audio so they can be arranged like drum fills.
- Export short alternate versions of key hooks, then choose the one that works in the chorus rather than in solo.
Full tutorial: resample a synth into a hook layer
- Duplicate the MIDI instrument and mute the duplicate as your safety version. Keep working on the active copy.
- Bounce or record the synth to a new audio track for 8, 16 or 32 bars. Include automation, delay throws and any movement that gives it character.
- Cut the audio at phrase points. Reverse one tail into the next section, shorten weak notes, and fade every edit so clicks disappear.
- Pitch or formant-shift a duplicate layer for contrast. High-pass it if it is only adding excitement above the main part.
- Chop one tiny moment into a fill before the hook. This turns sound design into arrangement, not just tone.
- Commit the best version and delete or hide failed experiments so the session stays readable.

Advanced mixing: diagnose by symptom, then choose the smallest technical move
Use the Mixing Masterclass as the companion route: stereo widening, harshness, mono collapse, muddy mixes, compression, plugin order, midrange and stereo meters.
The advanced producer does not ask “what plugin should I add?” They ask “what symptom am I hearing, what source causes it, and what is the lowest-risk move?”
Full tutorial: diagnose a mix before adding plugins
- Listen at low volume and write one sentence for the biggest issue: muddy, harsh, flat, narrow, weak, dull, boomy or disconnected.
- Find the section where the issue is worst. Do not fix the whole song if only the chorus or drop has the problem.
- Mute groups one by one: drums, bass, music, vocals and FX. The problem source usually appears faster than EQ sweeping.
- Try the smallest fix first: level, mute, note length, octave, panning, reverb send or arrangement space.
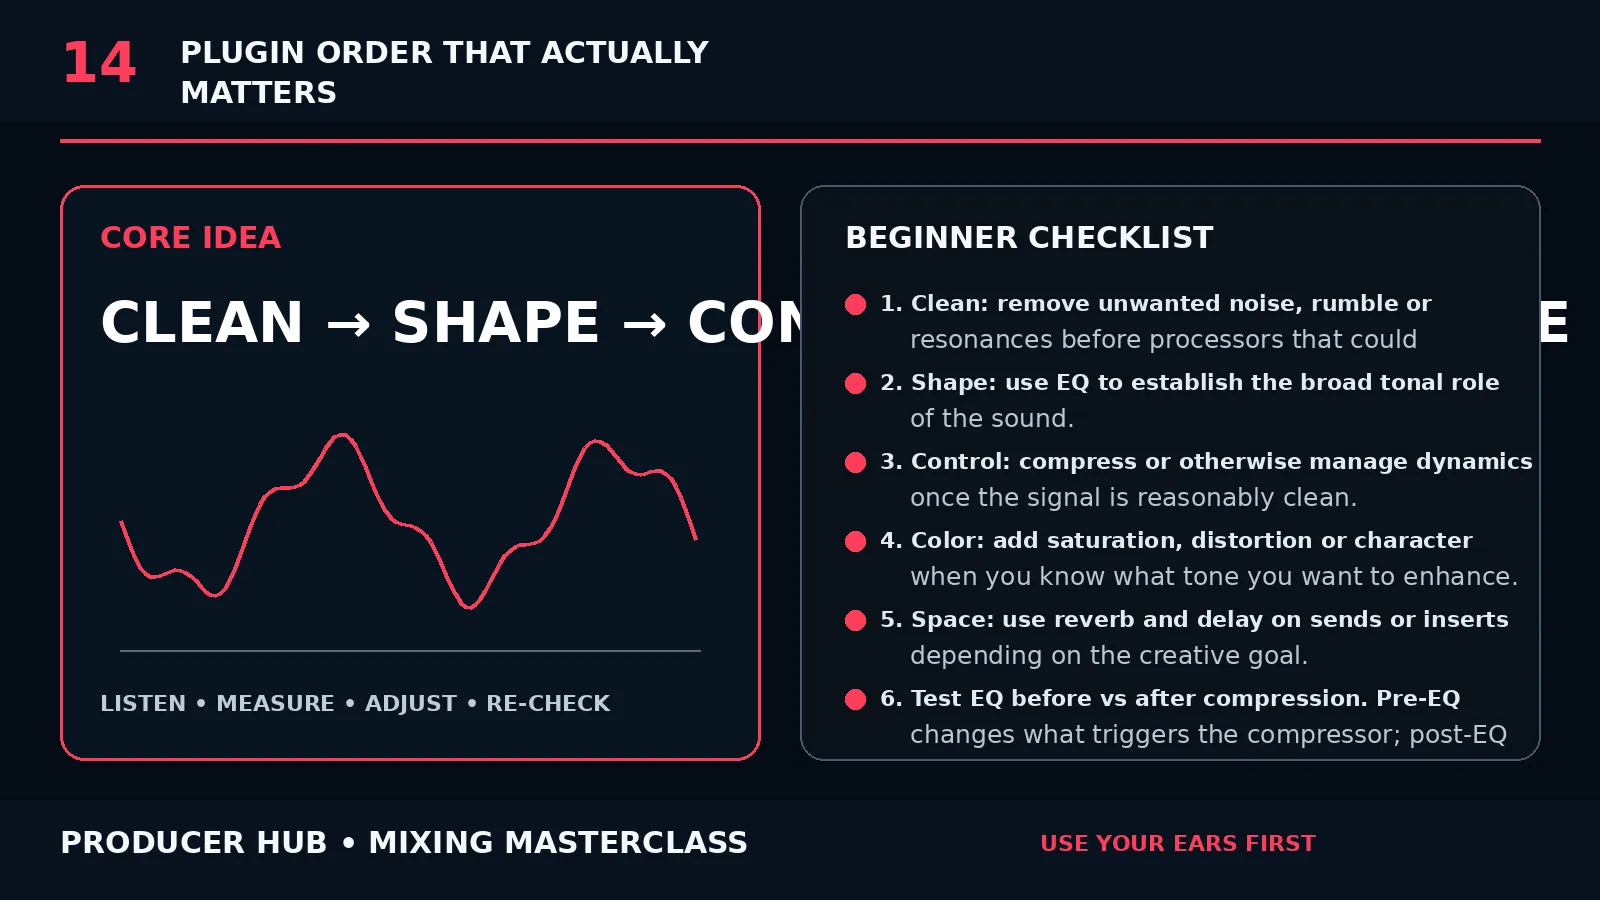
- If processing is needed, use one clear job per plugin. EQ for space, compression for movement, saturation for harmonics, clipping for peaks.
- Level-match the before and after. If it only sounds better because it is louder, keep working.
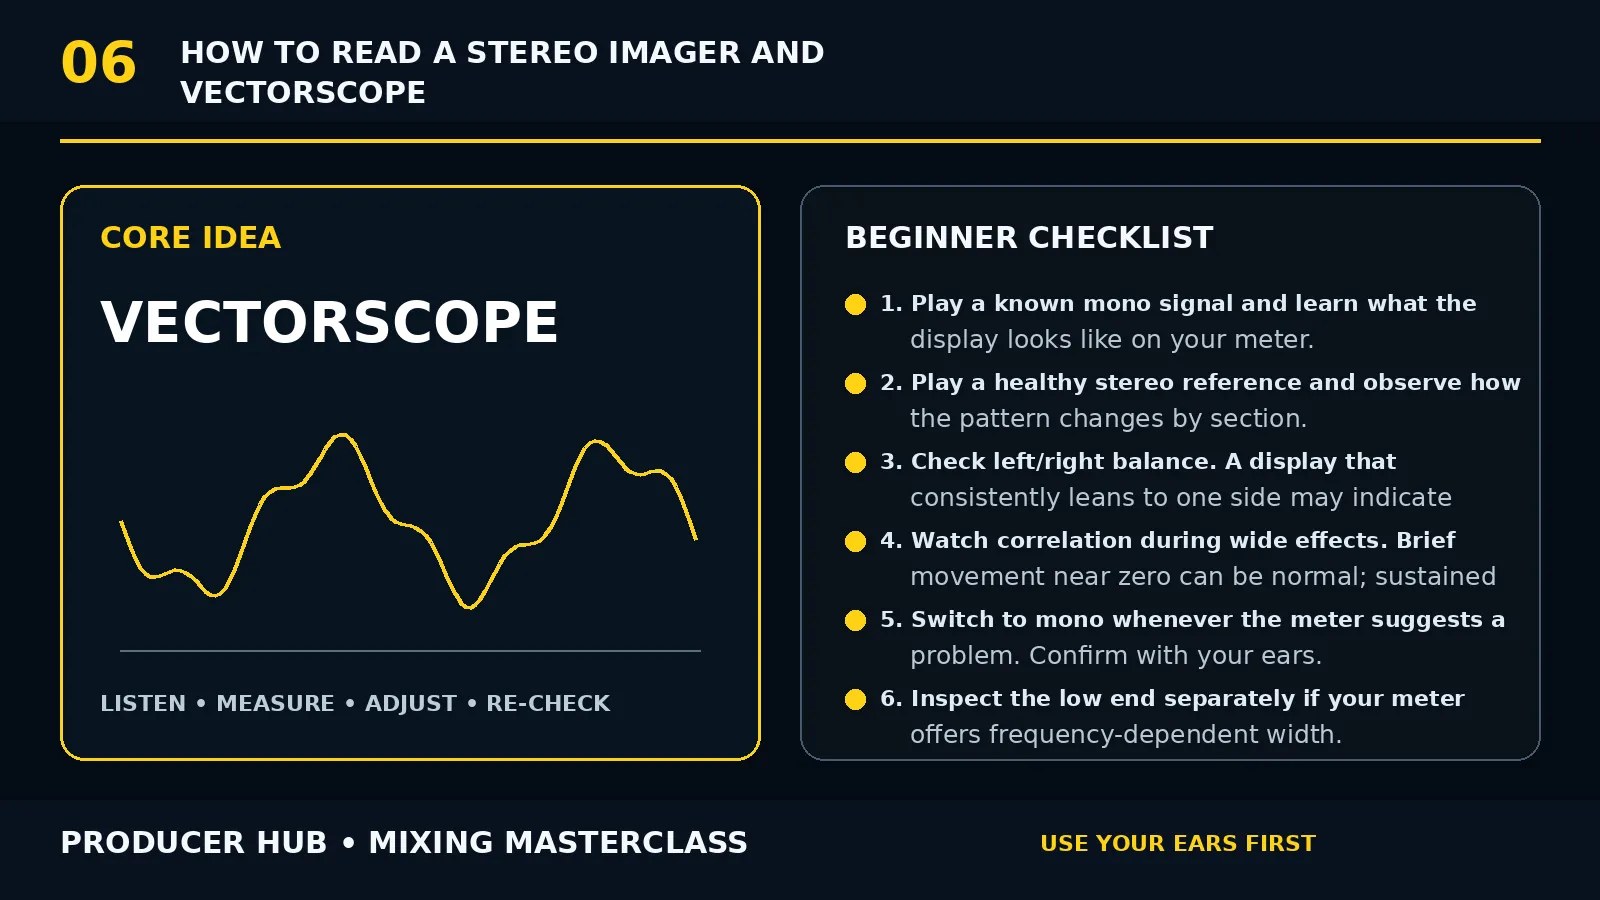
Mid/side, phase and stereo translation
Mid/side EQ and stereo tools are advanced because they can solve problems surgically. They are also dangerous because they can make a mix sound impressive on headphones and weak everywhere else.
Keep the emotional centre obvious. Kick, sub, snare weight, lead vocal and main hook usually need strong mid information. Sides create size around that centre.
- High-pass side information when low-end width makes the record unstable.
- Use side brightness for air only after the centre already feels clear.
- Check mono after widening any hook, pad, bass layer, guitar double or chorus effect.
- Use correlation meters as warnings, not targets. The song still has to feel good.
- Use real doubles, alternate voicings and ambience before reaching for a widener on everything.
Full tutorial: widen a mix without breaking mono
- Start with the centre. Kick, sub, snare body, lead vocal and main hook should still make sense in mono.
- Choose what deserves width. Pads, doubles, percussion, reverbs, delays and upper harmonics are safer than sub or main vocal weight.
- Use arrangement width first: different voicings left and right, call-and-response parts, doubles and stereo ambience.
- High-pass wide effects so low information is not pulling the mix sideways.
- Check mono every time you widen an important sound. If it disappears, reduce width or build a stronger mid layer.
- Use a vectorscope or correlation meter as a warning tool, then make the final call by ear.
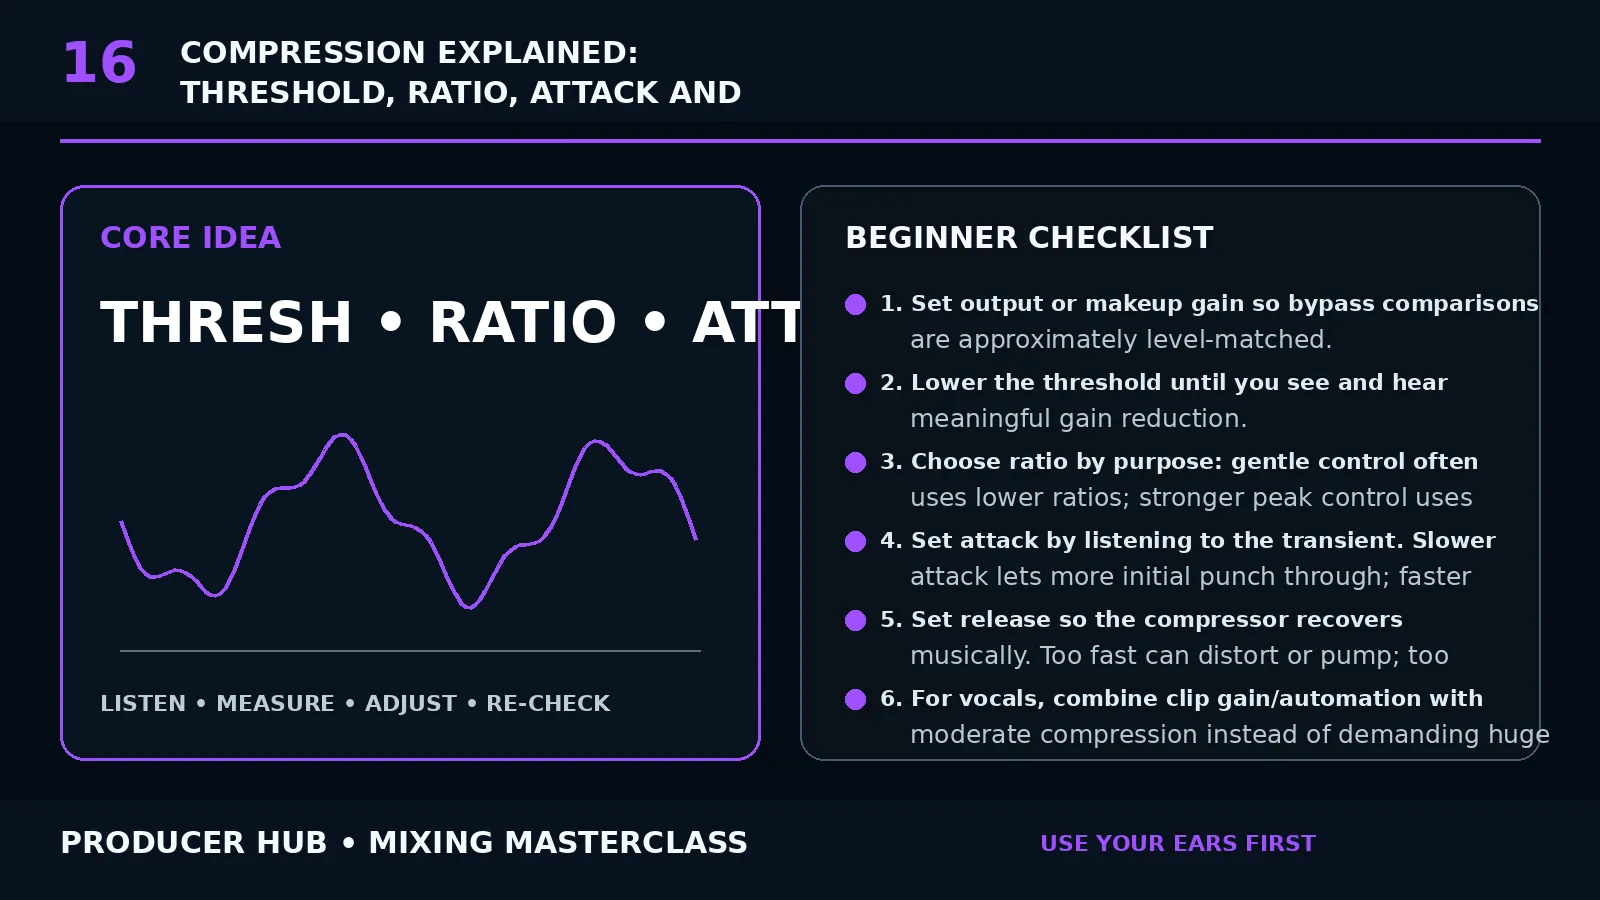
Dynamics: compression, clipping, saturation and crest factor
Advanced dynamics are about envelope and density. Compression changes movement. Clipping controls peaks. Saturation creates harmonics. Limiting raises level at the cost of transient and depth. Know which job you need before inserting a processor.
For loud electronic music, clip or control drum peaks before the limiter. For vocal-led music, automation often beats aggressive compression. For bass, harmonics can make the line audible without making the sub louder.
Full tutorial: choose the right dynamics tool
- If peaks are too sharp but the groove feels right, try clipping before compression. Clip a little and compare level-matched.
- If the sound moves too much, use compression. Set attack to preserve or soften the transient, then set release to breathe with the rhythm.
- If the sound is audible on big speakers but disappears on phones, use saturation to add harmonics instead of raising the sub.
- If a vocal phrase disappears, automate gain first. Compression should support the performance, not replace riding levels.
- If the master limiter is working too hard, go back and control drum, bass and bus peaks earlier in the mix.
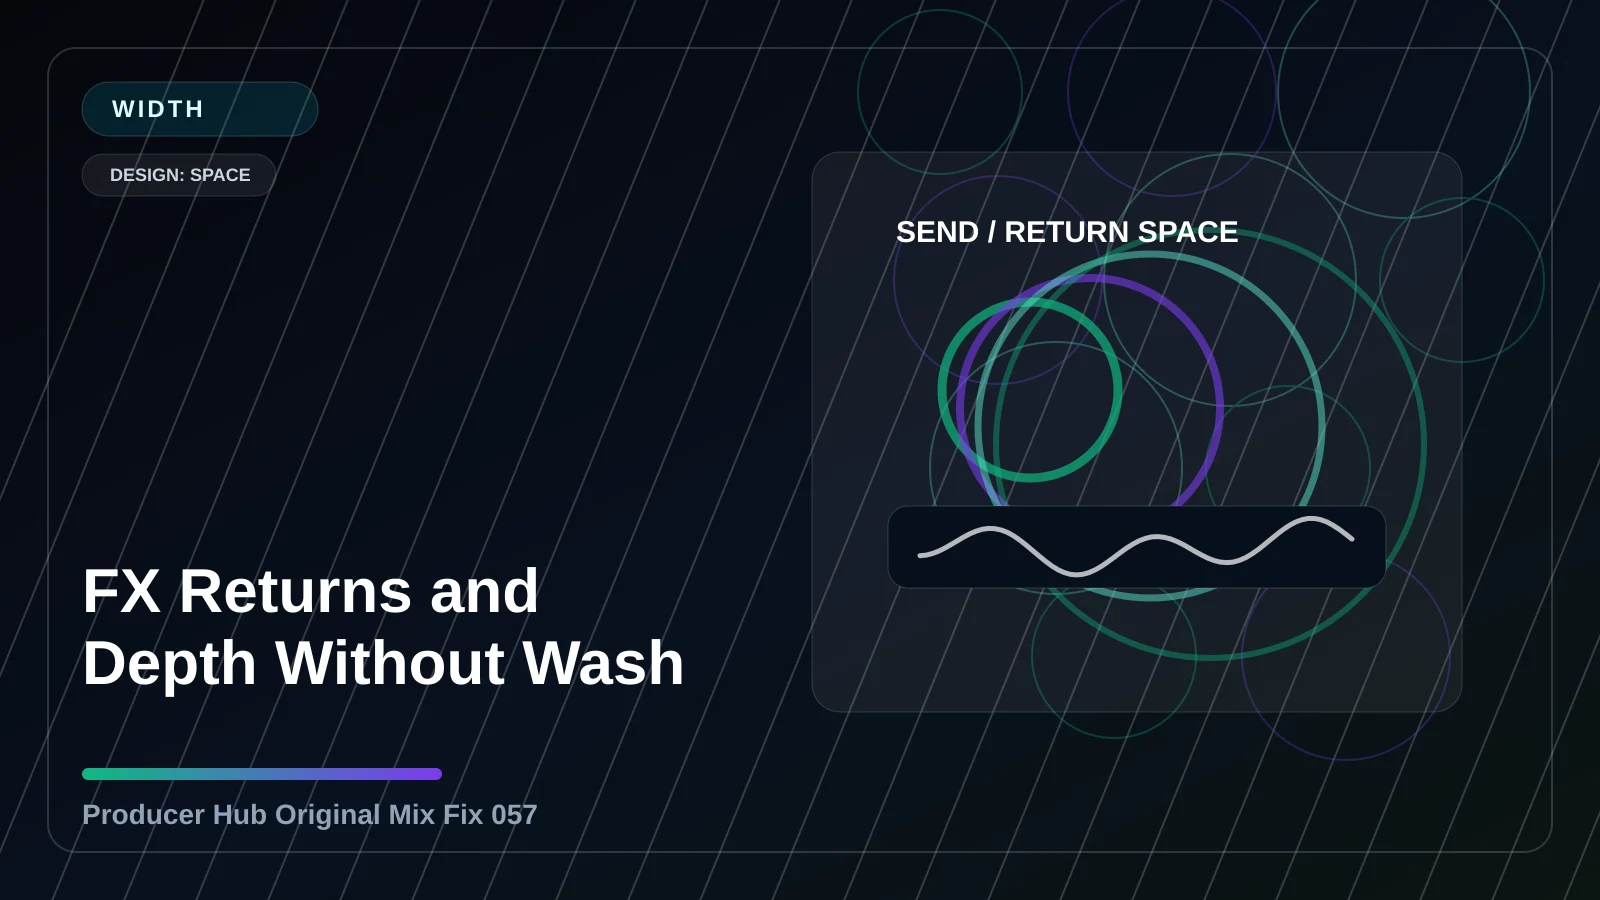
Depth without wash: reverbs, delays and FX returns
Beginners add reverb to make things bigger. Advanced producers use depth to place parts. A vocal can feel forward with a long reverb if the pre-delay, filtering and ducking are right. A synth can feel huge with a short room if the dry sound is wide and bright enough.
Use sends for shared space, special returns for moments, and automation for throws. Filter returns so they do not steal low-end or vocal intelligibility.
- Ducking reverb keeps the vocal forward while preserving the tail between phrases.
- Tempo delays can create groove if feedback and filtering are controlled.
- Short rooms add depth without making the mix obviously wet.
- Long reverbs need contrast. If everything is long, nothing feels deep.
- Print special throws to audio and cut the tails around important hits.
Full tutorial: create depth without washing out the mix
- Make three returns: short room for placement, tempo delay for movement and longer reverb for special moments.
- Filter every return. Remove unnecessary lows and tame harsh top end before deciding the reverb is too loud.
- Set pre-delay on vocal and lead reverbs so the dry sound speaks first and the space blooms afterwards.
- Ducking works beautifully on vocals, snares and hooks. Sidechain the return so the effect moves out of the way while the dry sound plays.
- Automate throws at the ends of phrases. A single printed delay throw can create more polish than a constant wet mix.
- Check the section with FX muted. If the song falls apart, the dry arrangement needs more strength.
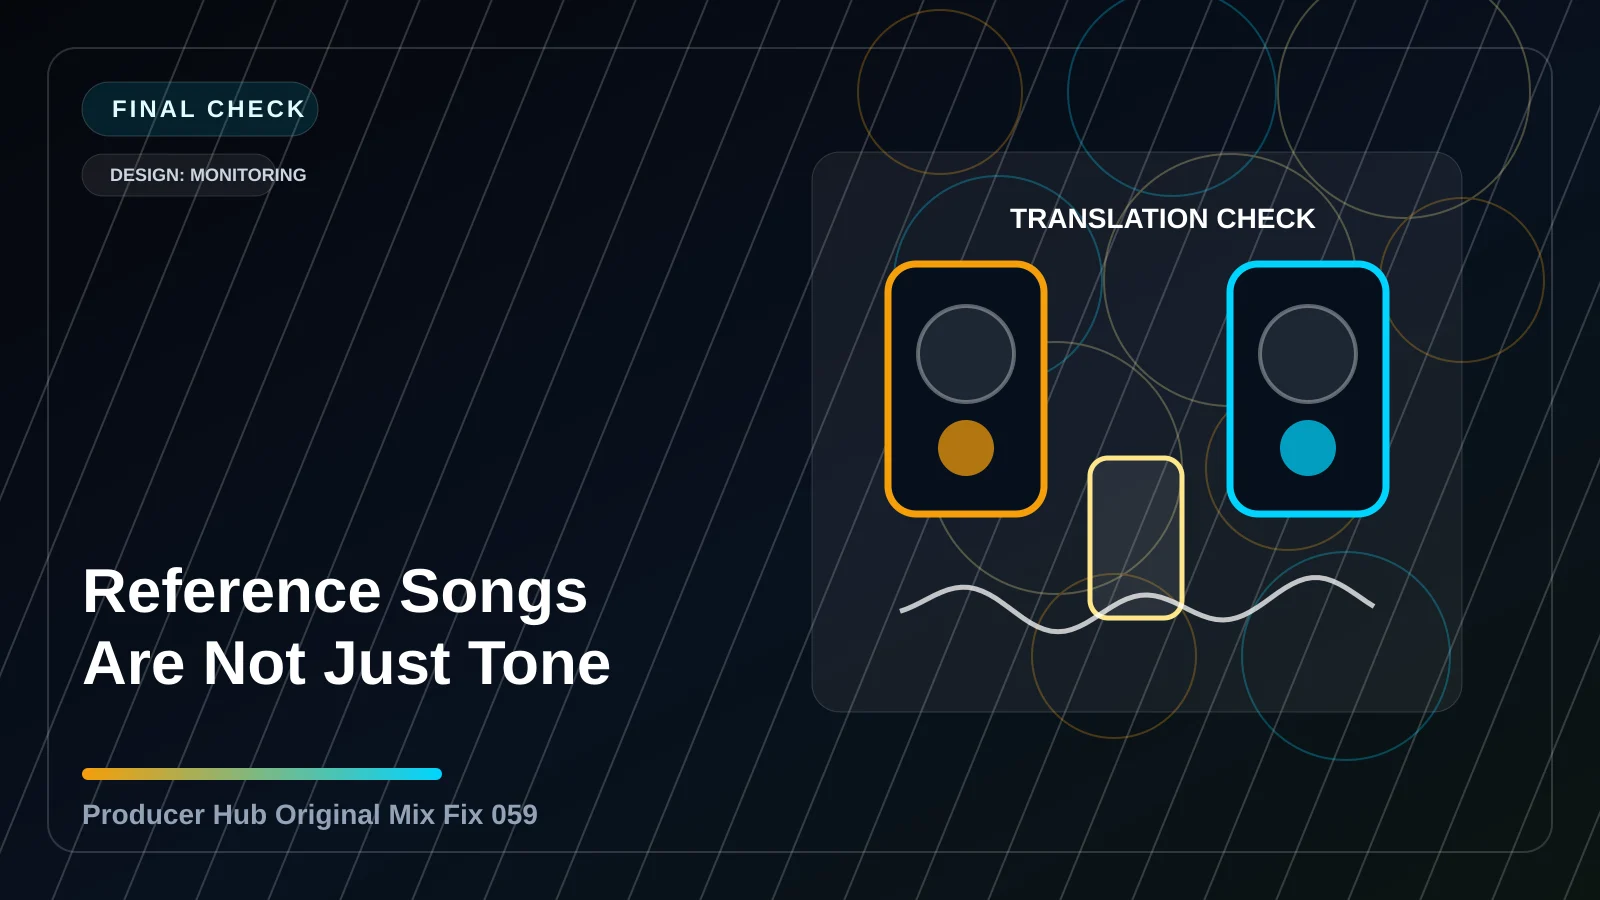
Reference listening and translation checks
Reference songs are not just tone checks. Use them for proportion: how loud the vocal is, how long the reverb feels, how dense the chorus is, how bright the hats are, how centred the bass is and how much the limiter changes the groove.
Check the track quietly, on headphones, on small speakers and in mono. Write down only the top three issues. Fix those, export a new version, then stop.
Full tutorial: run a translation pass
- Export the song and leave the DAW. Listen on headphones, phone speaker, small speaker and quiet monitors if possible.
- Write only three problems. Translation improves fastest when you fix the biggest issues, not every tiny annoyance.
- Compare against a level-matched reference for vocal level, kick-to-bass balance, brightness, width and loudness movement.
- Return to the DAW and fix by group, not by panic. If the phone loses the bass, add mid harmonics or adjust notes before raising sub.
- Export a new version with a clear name. Compare V1 and V2 away from the DAW before doing another pass.
Stems, print tracks and delivery that another producer can open
Advanced delivery is boring in the best way. Every file should line up from bar one, be clearly named, and make sense without you explaining the session. Export musical groups, not chaos.
Use dry and wet versions when needed. Vocals, guitars, synth hooks and special FX often need both: wet for intention, dry for flexibility.
- Name files with artist, song, BPM, key, stem group and version.
- Export stems from the same start point even if the first sound enters later.
- Keep the rough master reference with the stem folder so collaborators understand the intended balance.
- Print MIDI-only instruments before archiving the project.
- Keep one clean pre-master without limiting for mastering or future release work.
Full tutorial: export a professional delivery folder
- Save a new project version called "delivery prep" so you can clean routing and labels without damaging the creative session.
- Colour and name groups clearly: drums, bass, music, vocals, FX, returns and master reference.
- Export every stem from bar one or the same start time. Even silent starts matter because collaborators need instant alignment.
- Include wet and dry versions for vocals, hooks and special FX when the processing is part of the character.
- Export one pre-master without final limiting and one rough master reference so the intended energy is clear.
- Add a small notes file with BPM, key, sample rate, bit depth, version number and any missing third-party plugins.
Revision discipline: the advanced skill nobody brags about
Advanced producers do not endlessly rebuild. They export, listen away from the DAW, write the top issues, fix the highest-impact items and version properly. The goal is progress, not permanent tweaking.
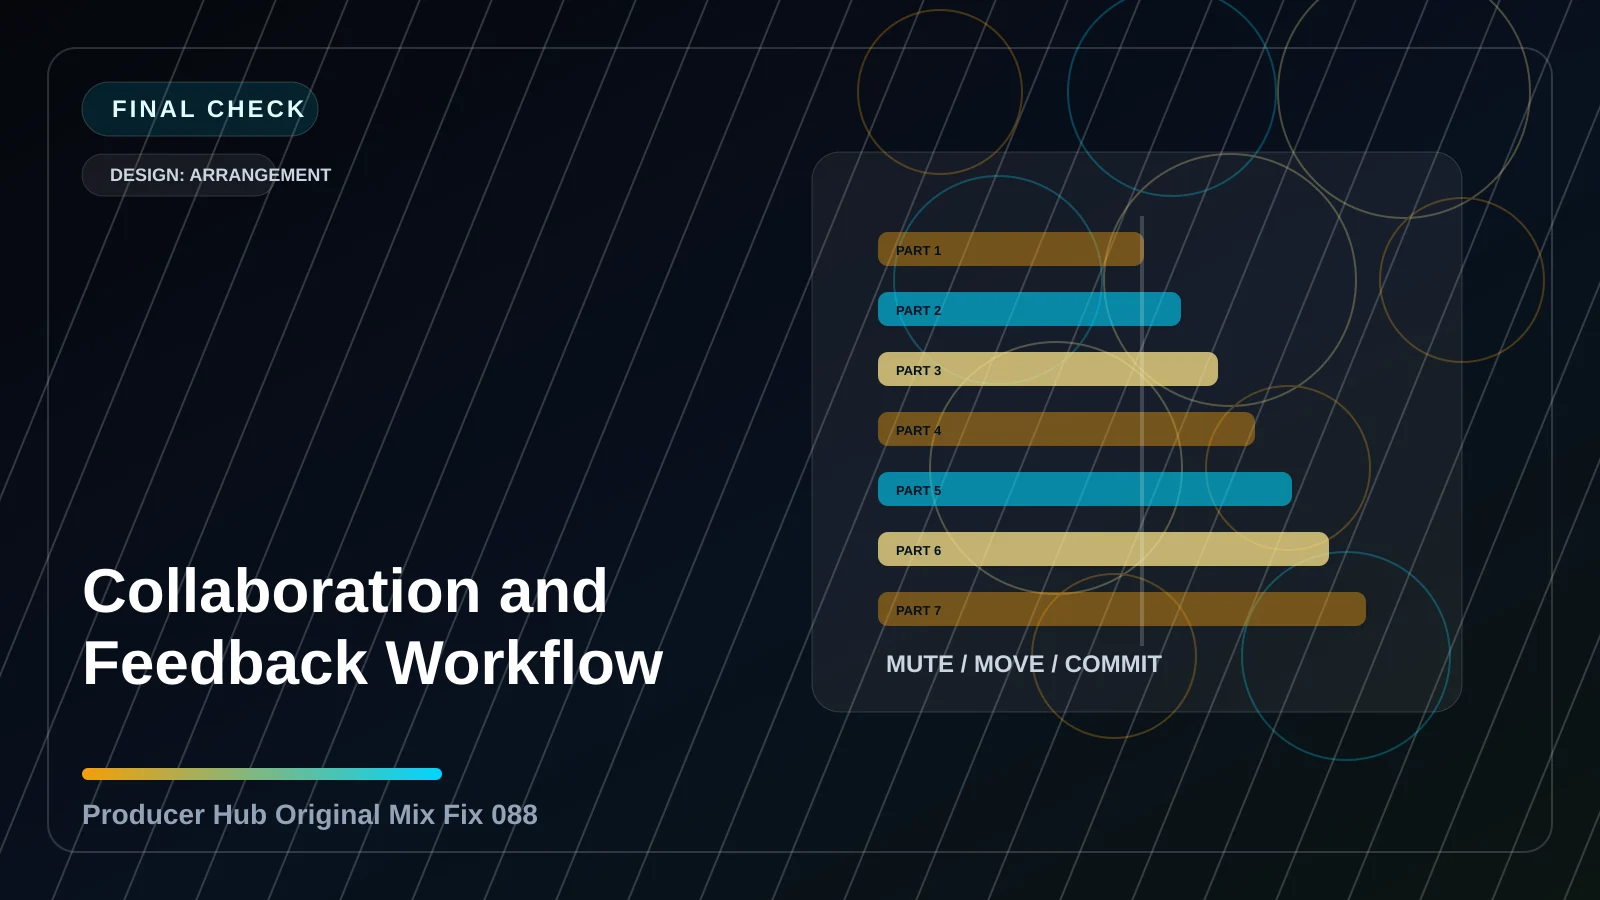
When feedback arrives, translate opinions into jobs. “The drop is weak” might mean contrast, low-end, transient impact, vocal energy, stereo width or arrangement timing. Find the real cause before changing everything.
Full tutorial: manage revisions without losing the song
- Export a numbered version before every serious feedback round. Never overwrite the only bounce.
- Sort feedback into jobs: arrangement, performance, sound choice, mix balance, translation, loudness or delivery.
- Ignore contradictory micro-feedback until you understand the bigger pattern. Several small comments often point to one main issue.
- Fix the highest-impact job first, export again, then check whether the smaller notes still matter.
- Keep a short revision log. Write what changed, why it changed and whether the new version is better than the last one.
- Stop when the song communicates clearly. Endless revision usually means the next track needs the lesson more than this one does.
A finished track with clear decisions teaches more than a perfect loop with endless options. Print the version, write what you learned, and start the next one.