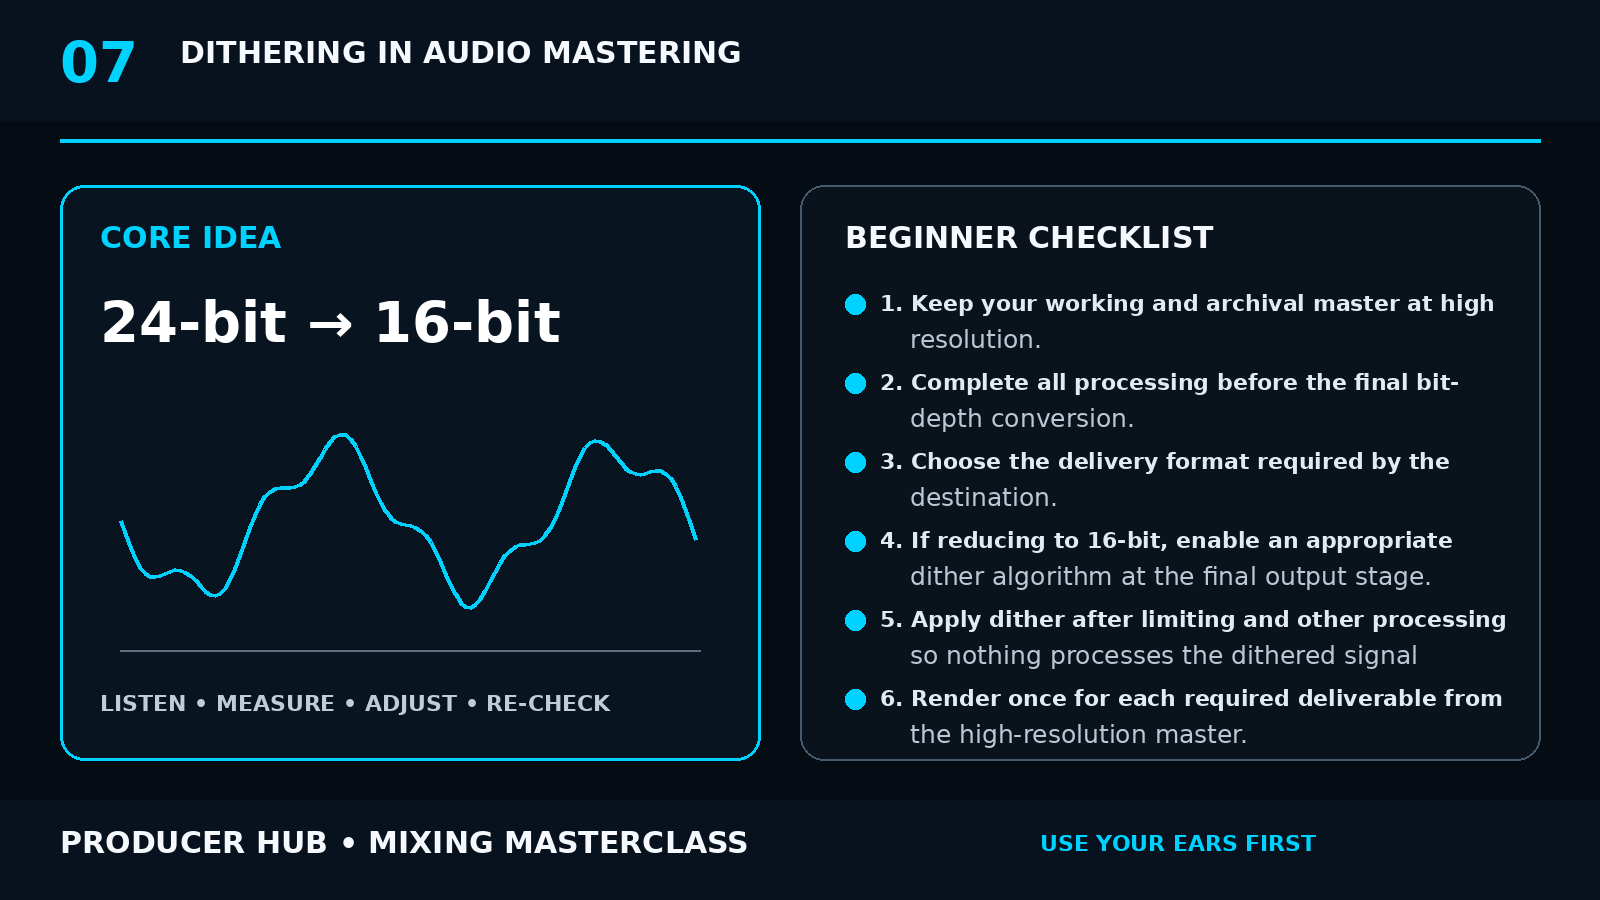
The Core Concept
Dither is very low-level noise intentionally added before reducing bit depth. It decorrelates quantization error so very quiet information fades more smoothly instead of producing deterministic distortion.
Dither is relevant when reducing fixed-point bit depth, such as creating a 16-bit deliverable from a 24-bit or floating-point master.
Increasing bit depth does not restore lost information and does not require dither.
Step-by-Step Tutorial
- Keep your working and archival master at high resolution.
- Complete all processing before the final bit-depth conversion.
- Choose the delivery format required by the destination.
- If reducing to 16-bit, enable an appropriate dither algorithm at the final output stage.
- Apply dither after limiting and other processing so nothing processes the dithered signal afterward.
- Render once for each required deliverable from the high-resolution master.
- Avoid stacking multiple dither stages. If a limiter already dithers, do not add another dither plug-in afterward.
- Use noise shaping only when appropriate and when you understand the delivery chain.
- Do not expect dither to change the audible tone of a normal loud section; its purpose is mainly at very low levels.
- Archive the undithered high-resolution master for future formats.
Common Mistakes
- Dithering every bounce
- Dithering when no bit-depth reduction occurs
- Adding processing after dither
- Converting 16-bit to 24-bit and expecting restored detail
- Using dither as a loudness or mastering effect
Guided Practice
Export a quiet fade at 24-bit and 16-bit with and without dither. Turn the monitoring level up carefully only after reducing playback level, and listen to the final part of the fade to understand the difference.
Turn this lesson into a 20-minute mix drill
Duplicate
Save a copy of the session before changing the mix.
Solo less
Make every move while the main groove or vocal context is playing.
Level match
Bypass the change at equal loudness so louder does not trick you.
Export
Print a short before/after bounce and listen away from the DAW.