 EQ
EQEQ fundamentals
Subtractive EQ, frequency ownership, kick vs bass carving, M/S EQ and dynamic cuts.
Read full tutorialNew Producer Hub Mixing Masterclass lessons now cover stereo width, harshness, mono collapse, muddy mixes, vocals, compression, plugin order, dithering, panning and metering, alongside the existing EQ, low-end and bus workflow guides.
Use the free gain staging, EQ, headroom, mastering/export and advanced mixing PDFs alongside these lessons so each session has a clear checklist.
Sixteen focused lessons built from the new tutorial pack. Each one has a full page, practical steps, mistakes to avoid and a short practice drill you can run inside any DAW.
Use these lessons as a hands-on mixing toolkit: clean up harsh upper-mids, stop wide parts collapsing in mono, make vocals sit forward, control muddy low-mids, choose smarter plugin chains and build width without losing the power in the centre.
Start with balance, masking and low-end control before adding more processing.
Use width around the kick, bass, lead and vocal instead of weakening them.
Use mono, references and quieter listening to catch problems fast.
Only process the 2-bus when the mix already feels balanced and exciting.
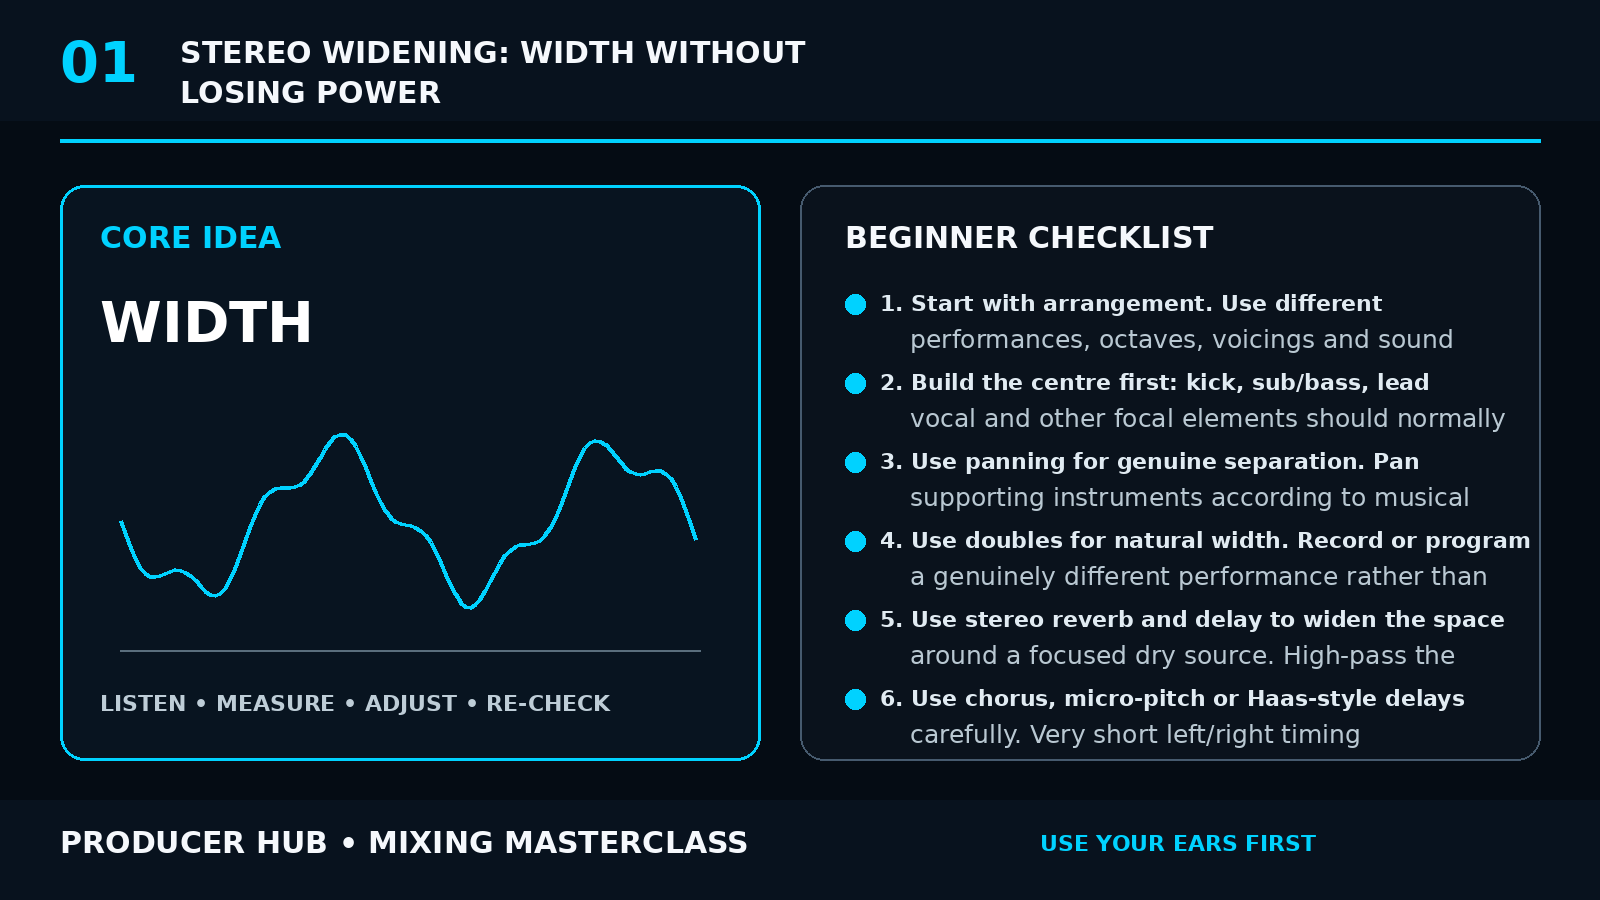
Learn how stereo width is created, why excessive widening causes phase and mono problems, and how to build a wide mix through arrangement, panning, ambience and controlled processing.
Open lesson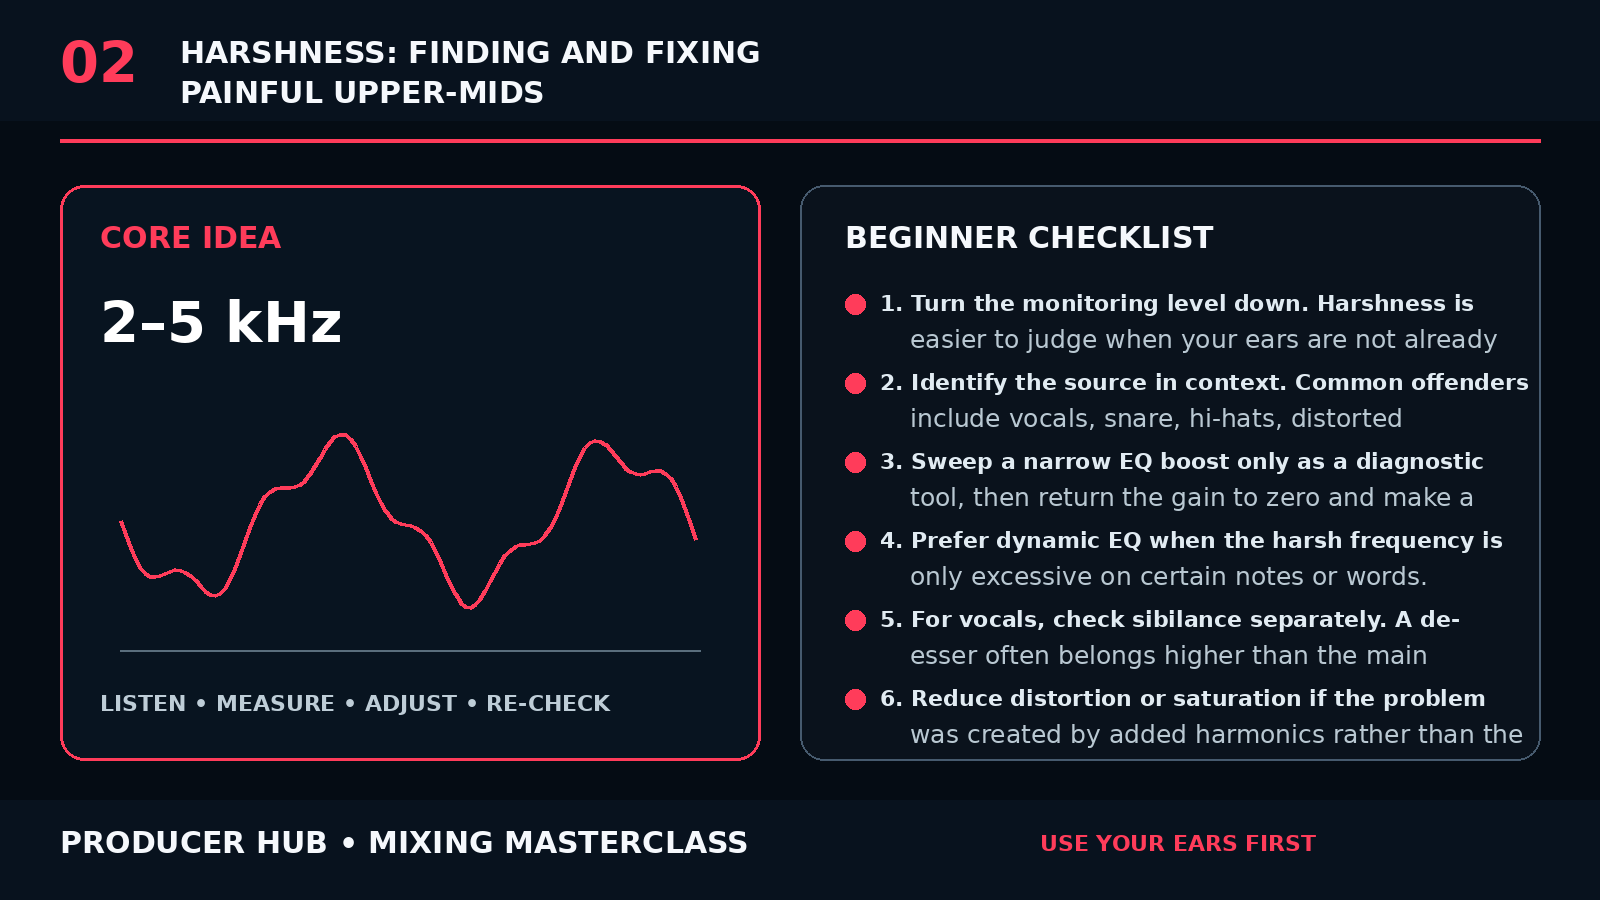
Understand what harshness sounds like, why it often appears around the upper-midrange, and how to reduce it without making a mix dull.
Open lesson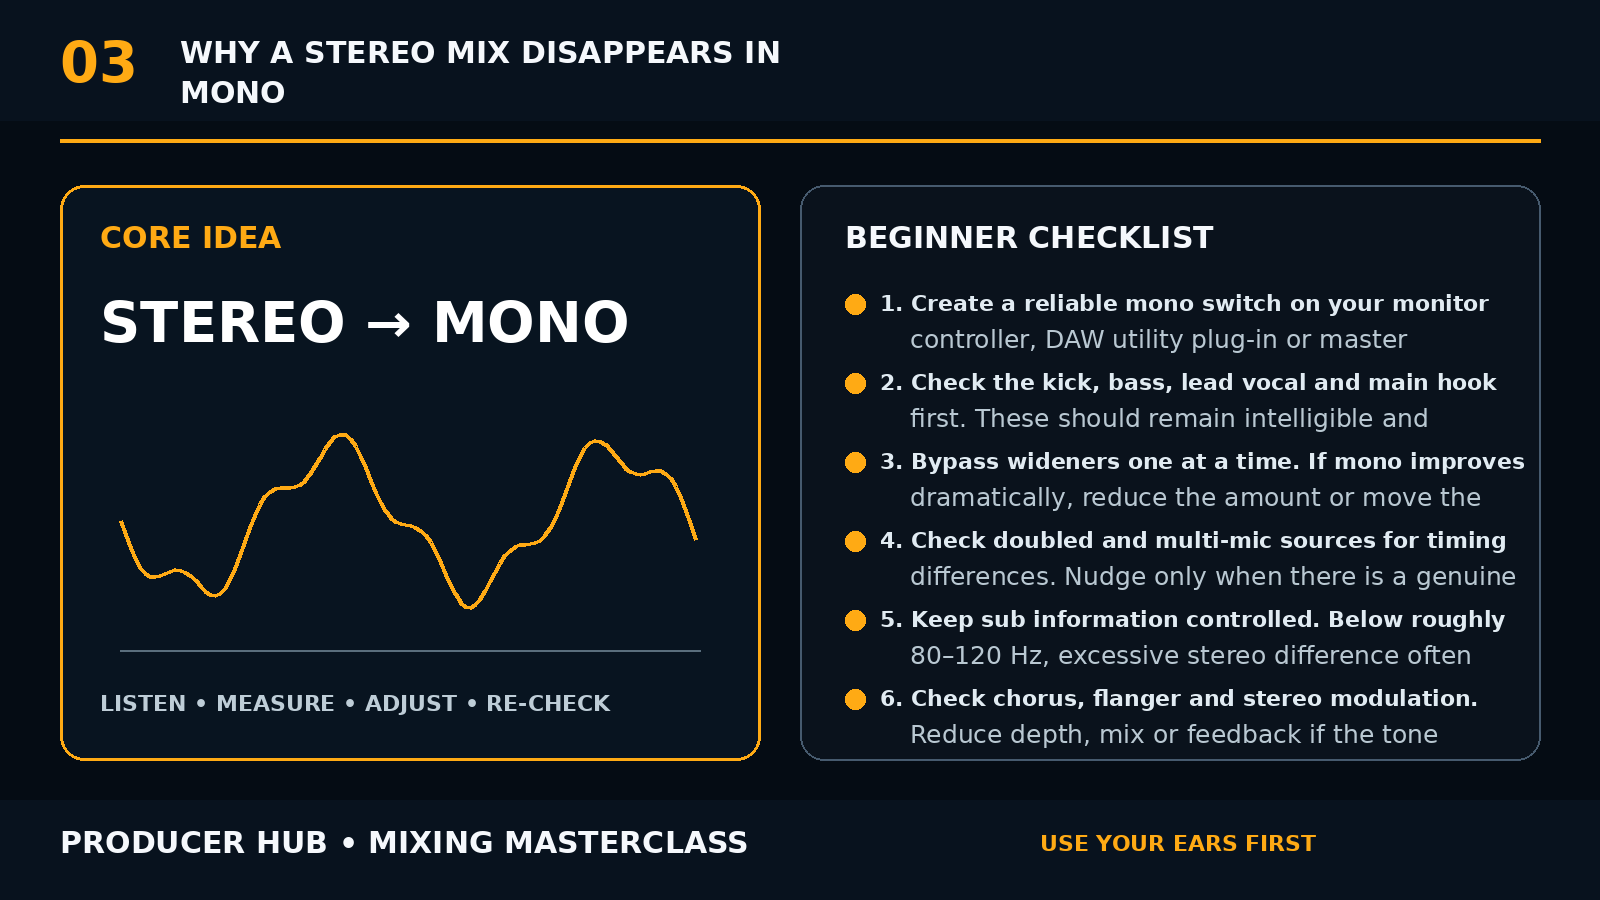
A complete guide to phase cancellation, timing mismatches, stereo bass, modulation and effects that can make a wide mix turn weak or hollow in mono.
Open lesson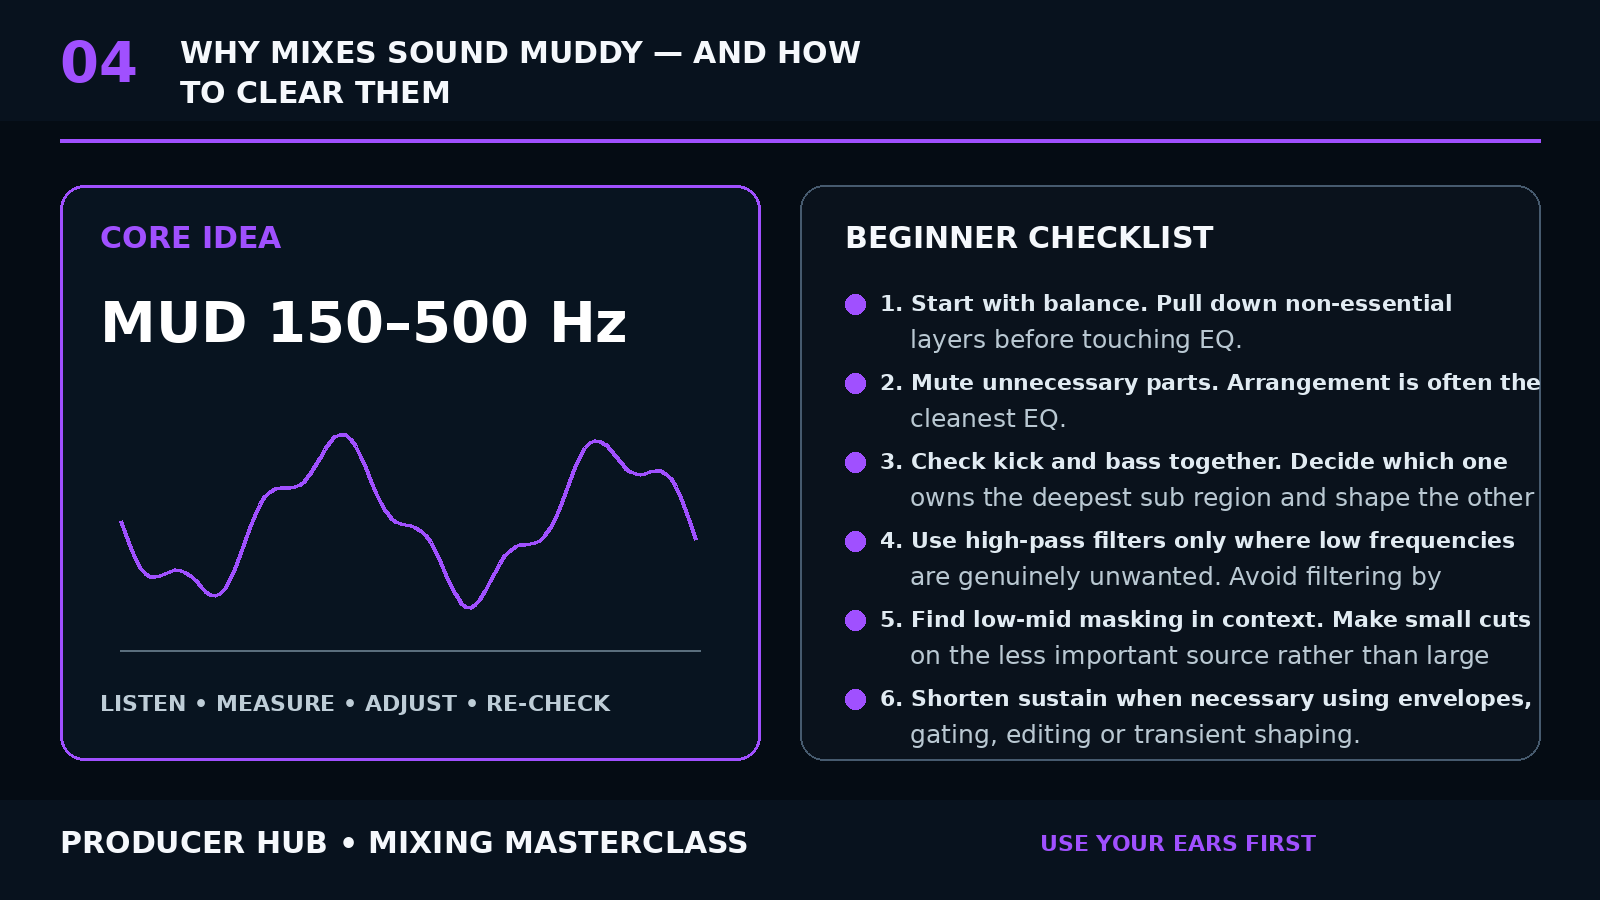
Learn to diagnose frequency overlap, low-mid buildup, excessive reverb and arrangement clutter without thinning every instrument.
Open lesson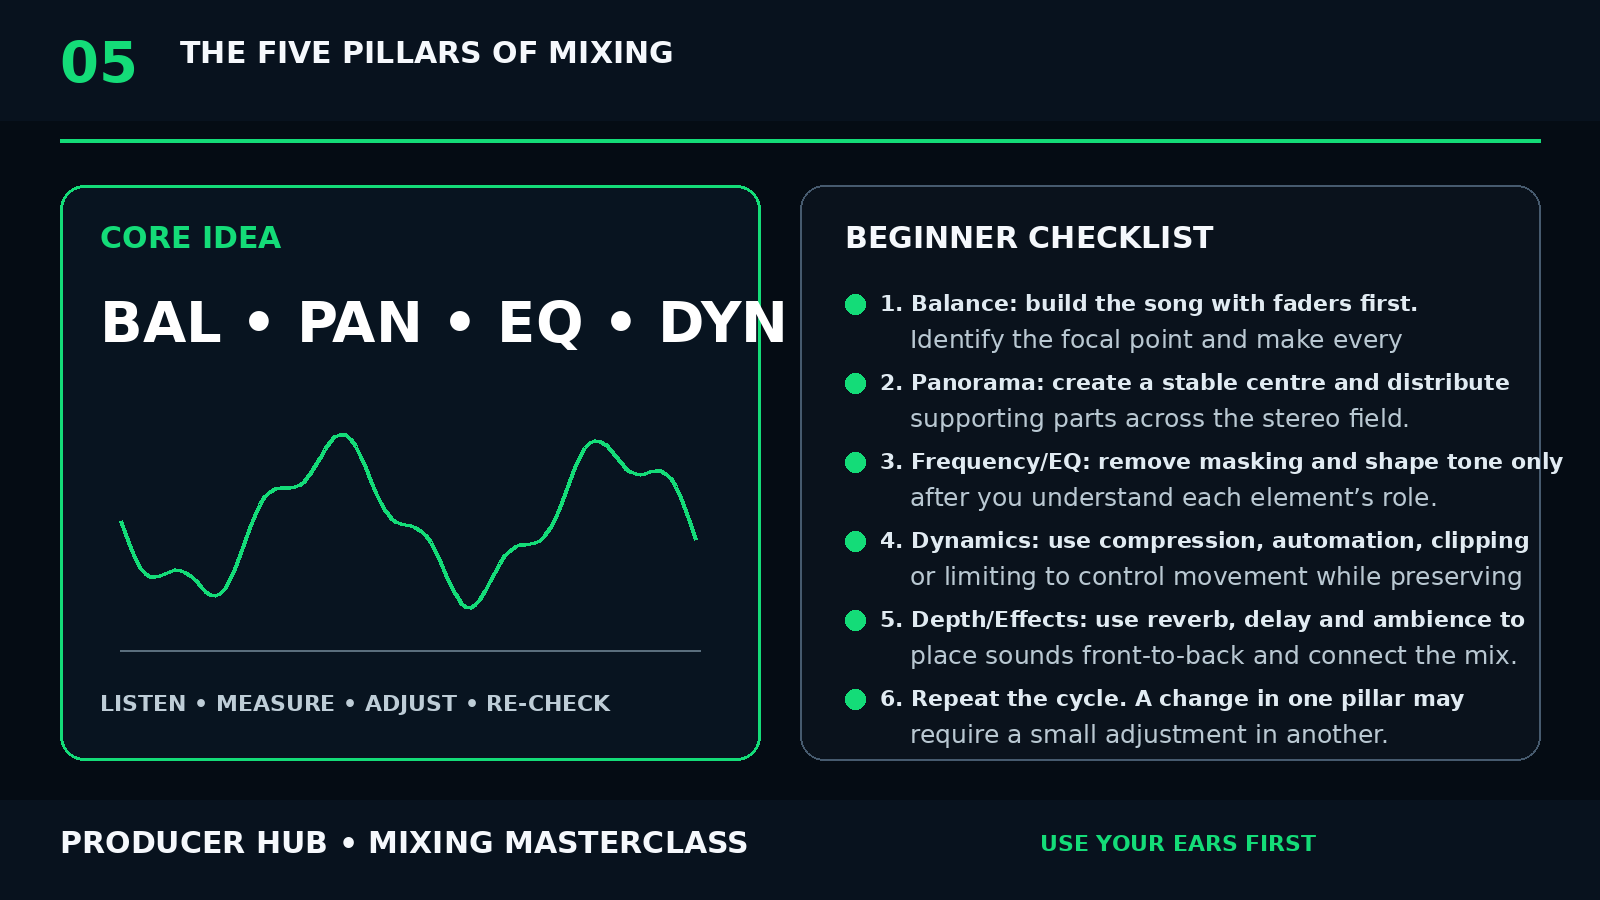
A complete workflow built around balance, panorama, frequency, dynamics and depth — the five decisions that shape almost every mix.
Open lesson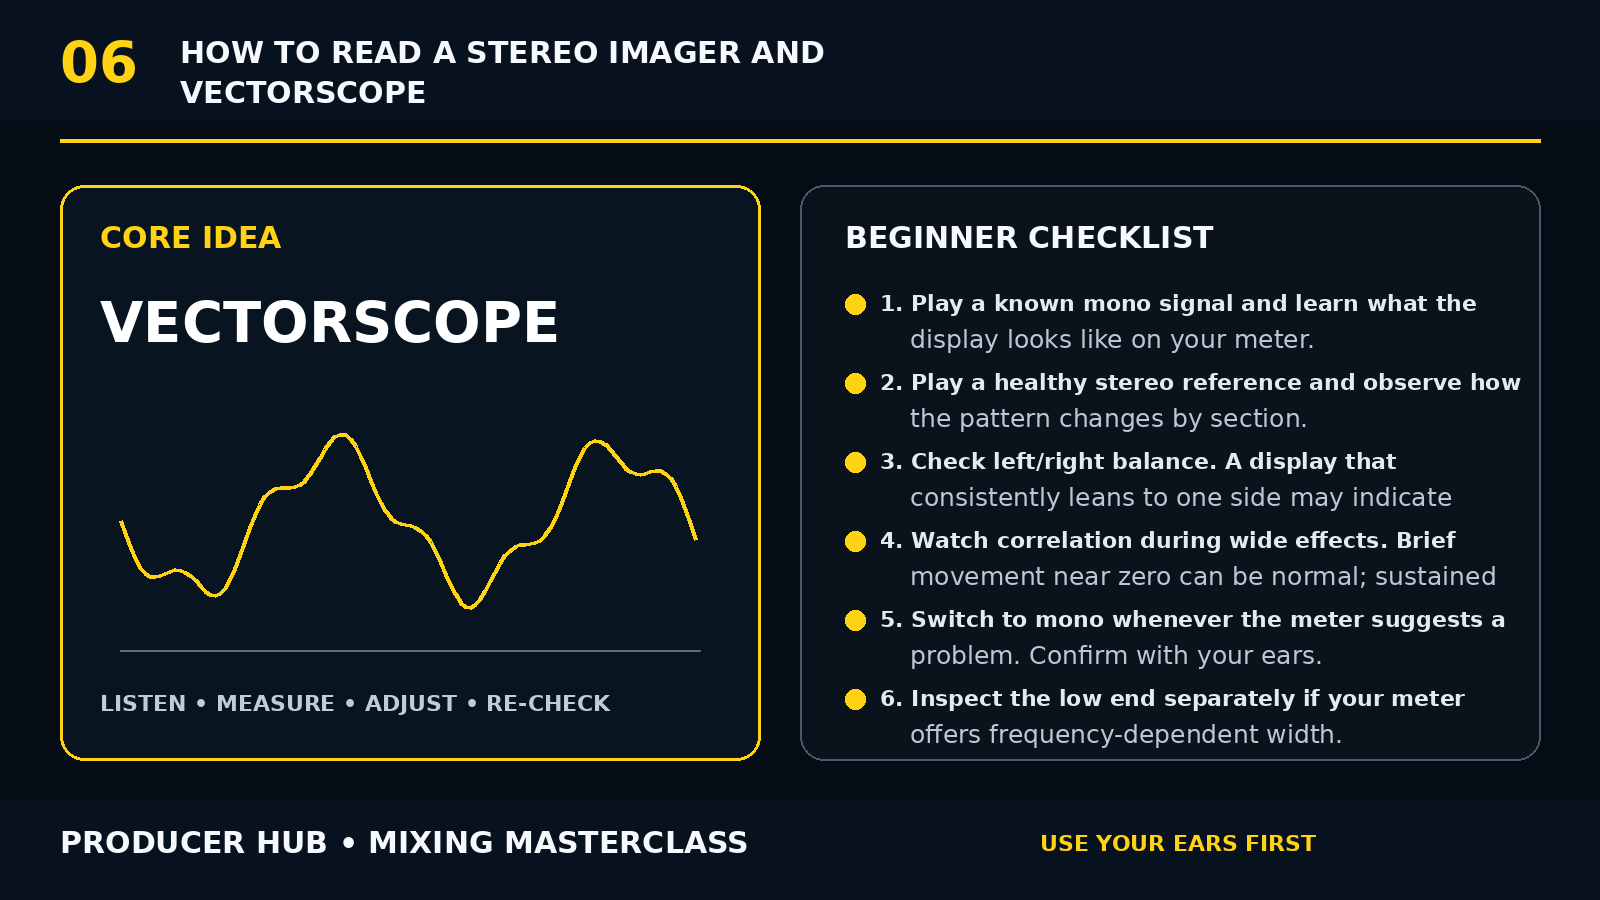
Learn what stereo meters can reveal about width, left/right balance, phase and mono compatibility — and what they cannot tell you.
Open lesson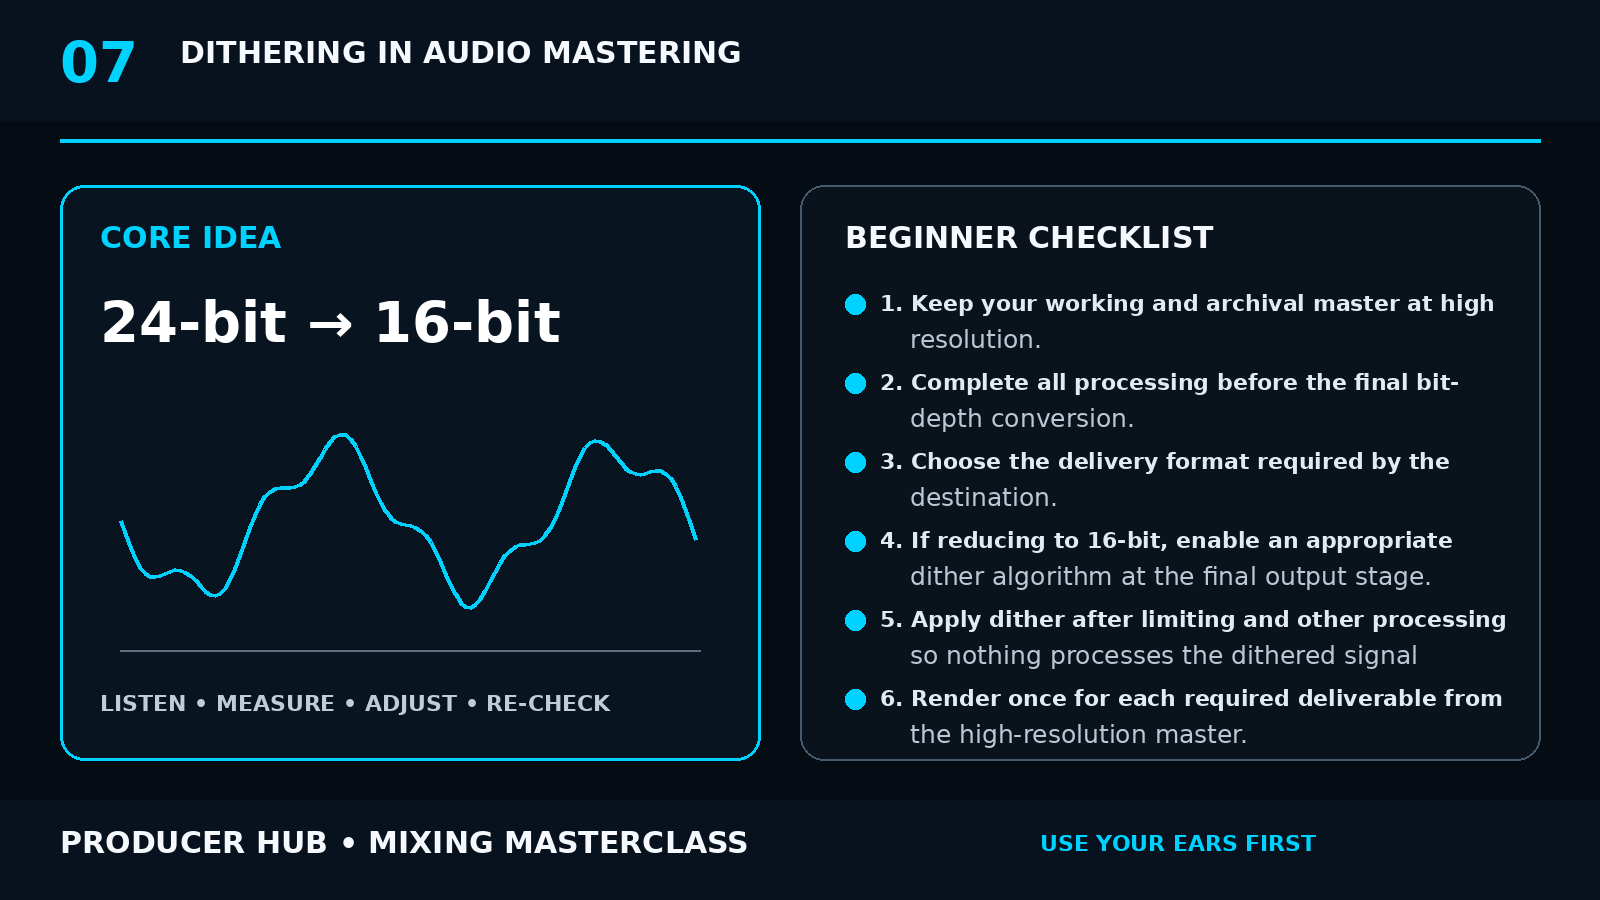
Understand what dither is, when to use it, why it belongs at final bit-depth reduction, and how to avoid repeated or unnecessary dithering.
Open lesson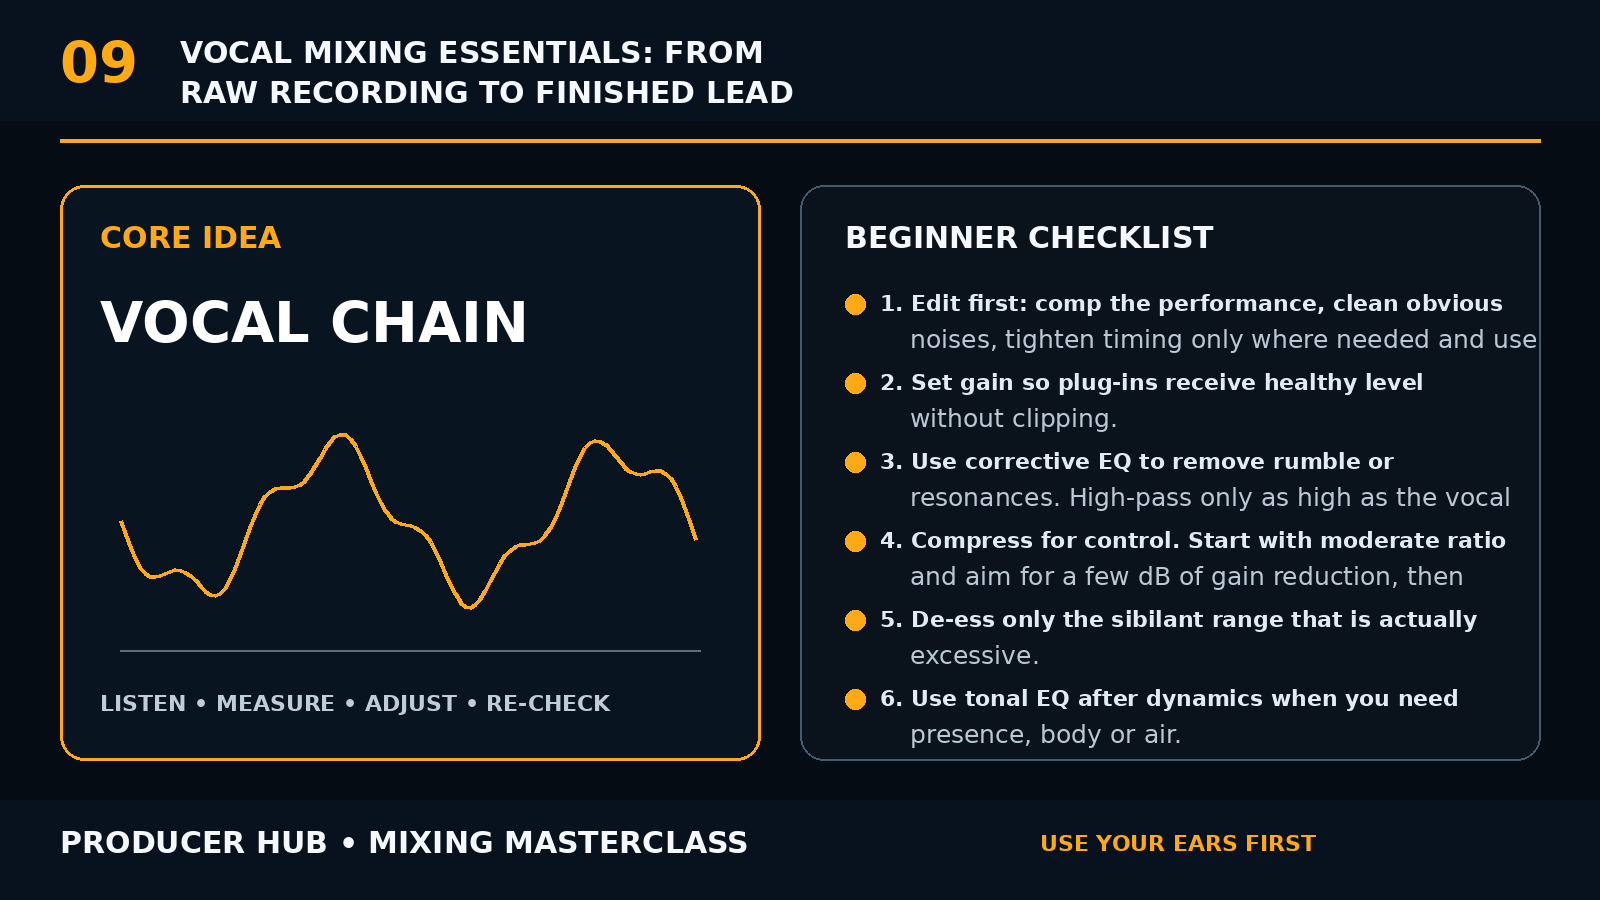
A step-by-step vocal workflow covering editing, gain staging, EQ, compression, de-essing, saturation, ambience, automation and context.
Open lesson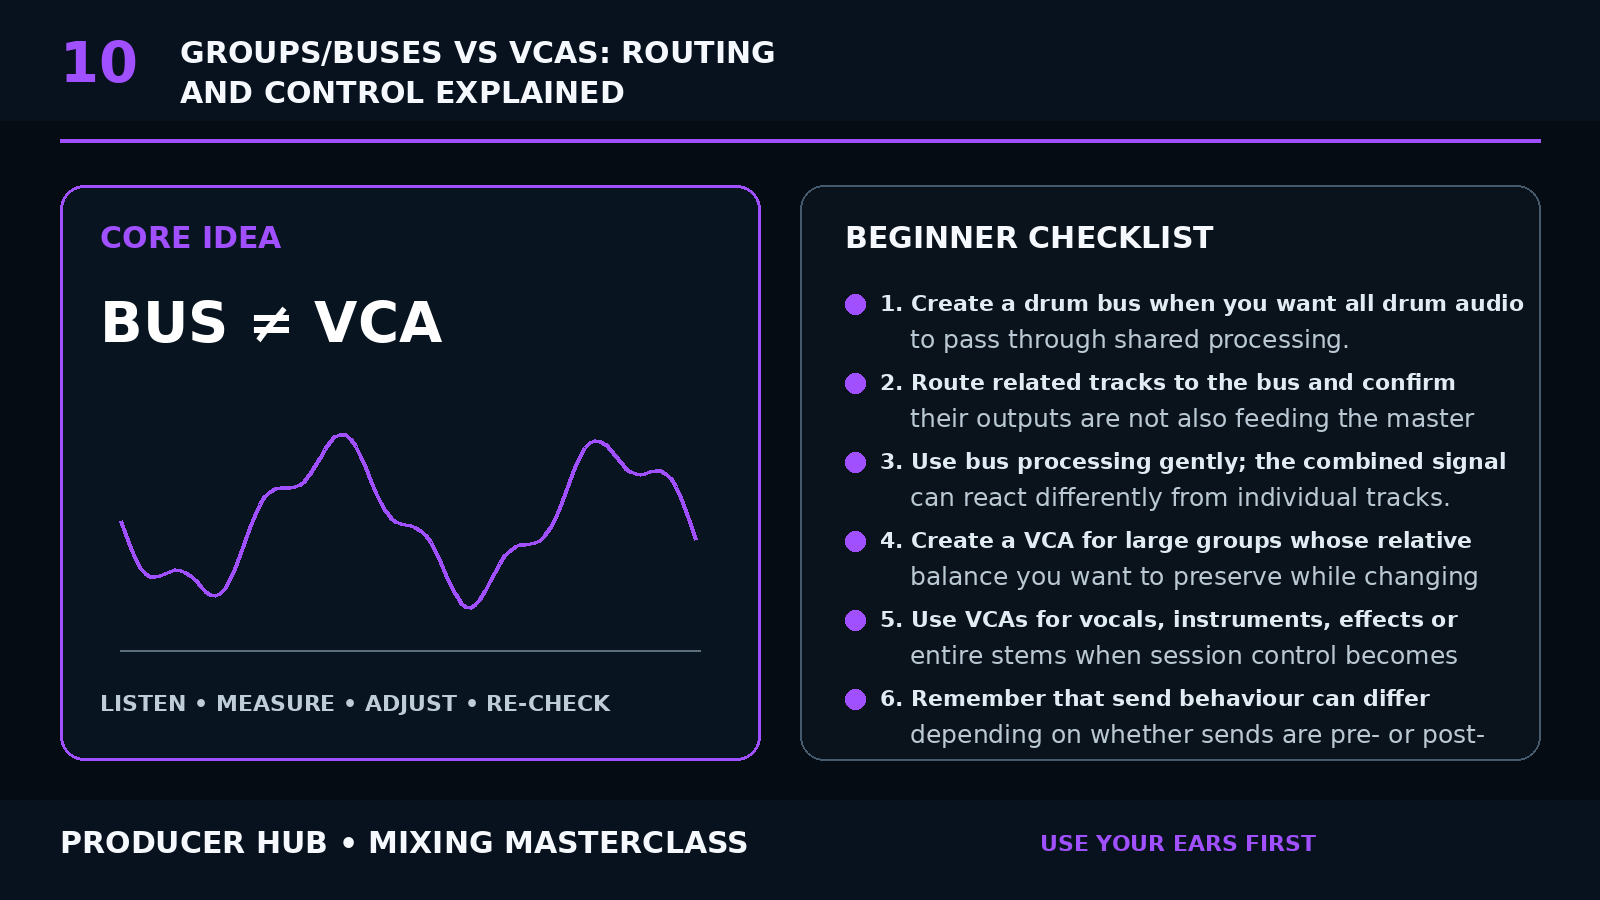
Understand the difference between audio subgroups and VCA-style level control, when to use each, and how to combine them in large sessions.
Open lesson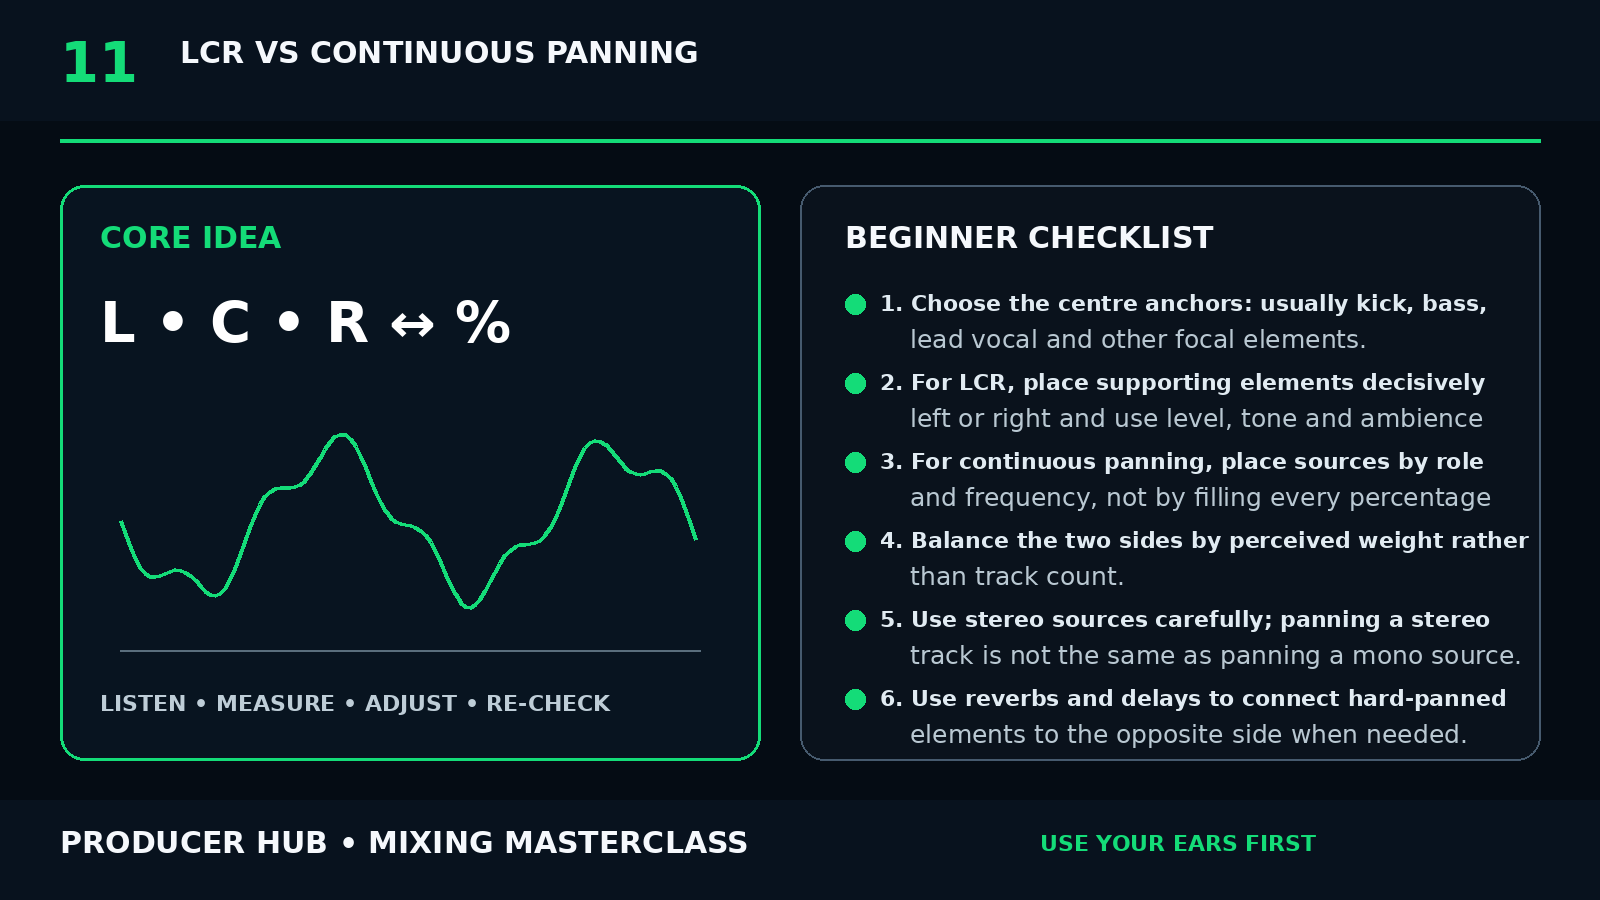
Compare Left-Centre-Right panning with continuous placement and learn when each approach creates clarity, realism, width or stronger arrangement decisions.
Open lesson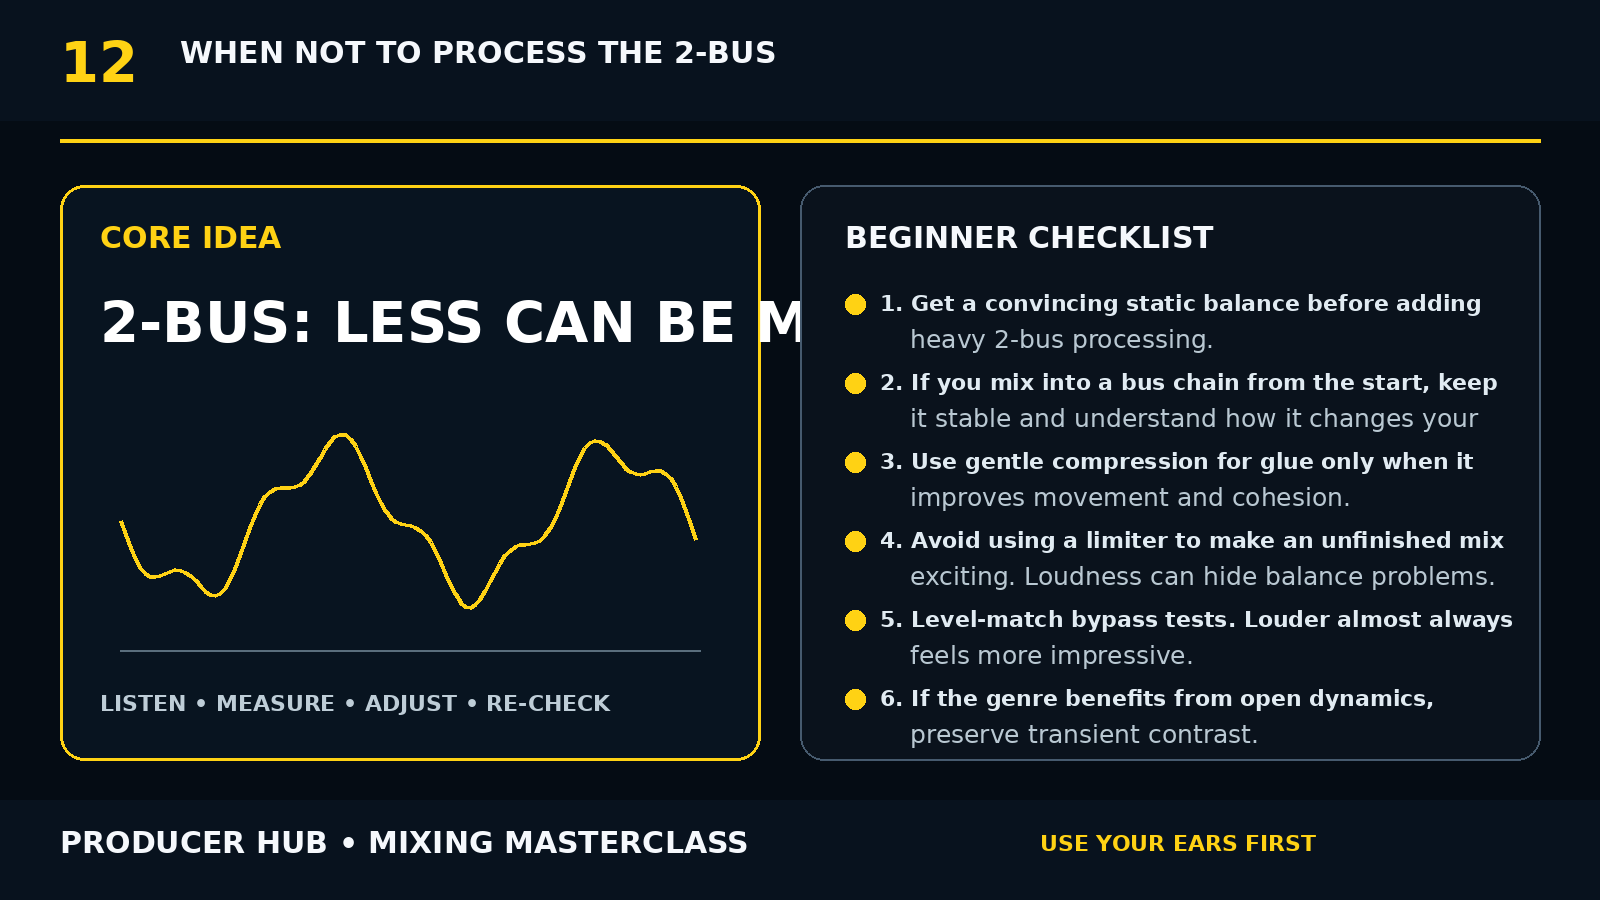
Learn when master-bus processing helps, when it hides problems, and how to avoid over-compressing or over-limiting a mix before the balance is ready.
Open lesson
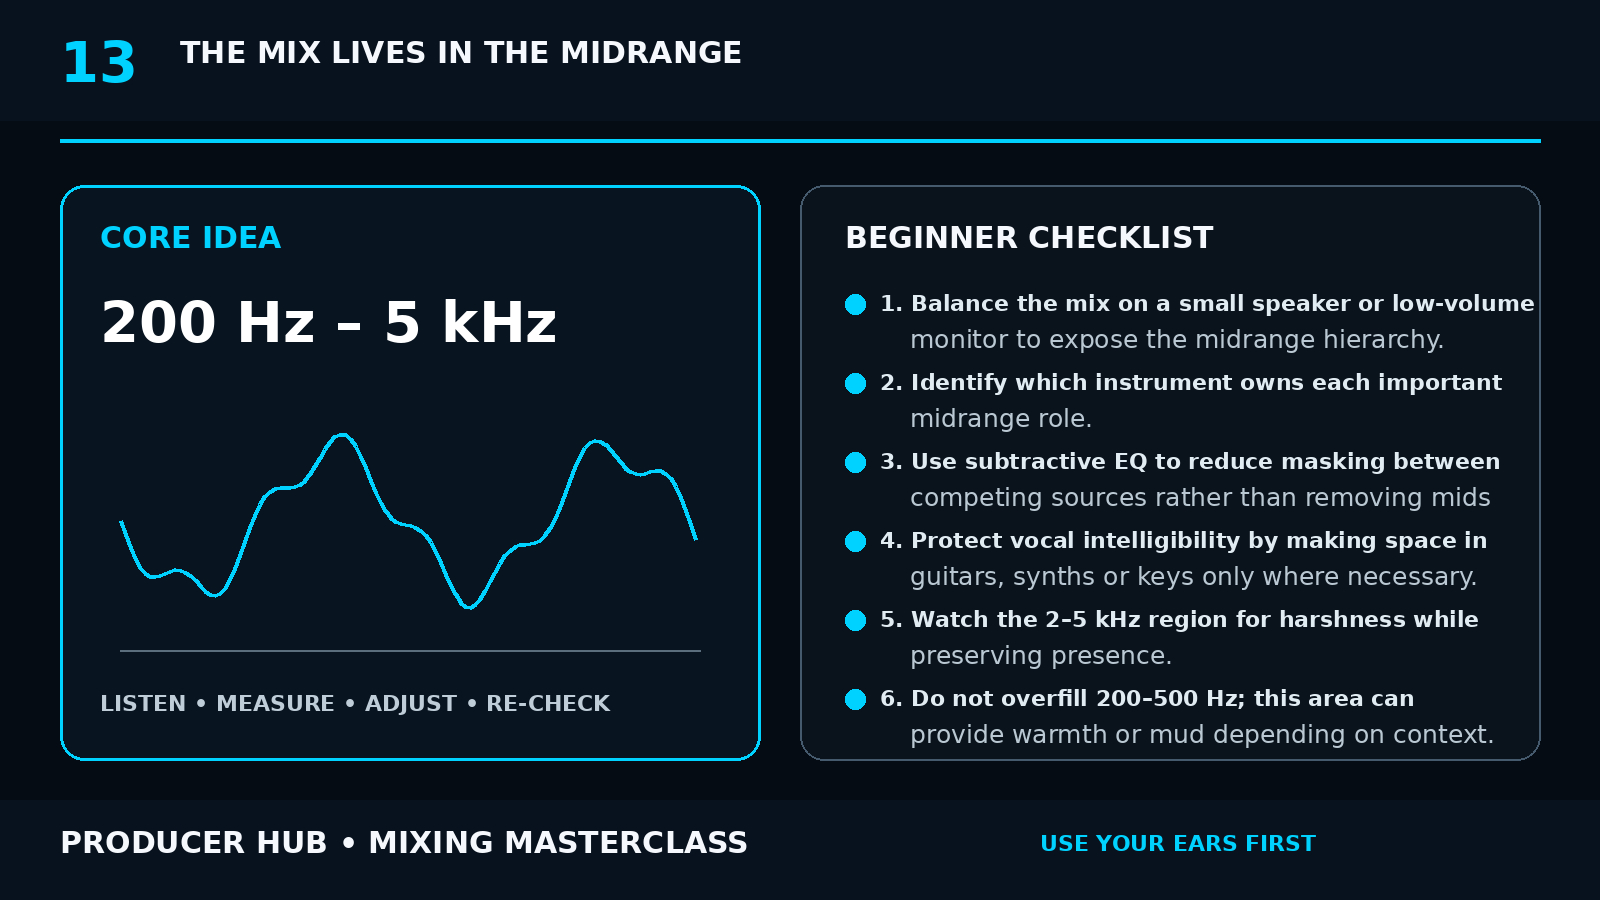
Understand why roughly 200 Hz-5 kHz carries so much musical information and translation, and how to shape mids without creating a hollow or harsh mix.
Open lesson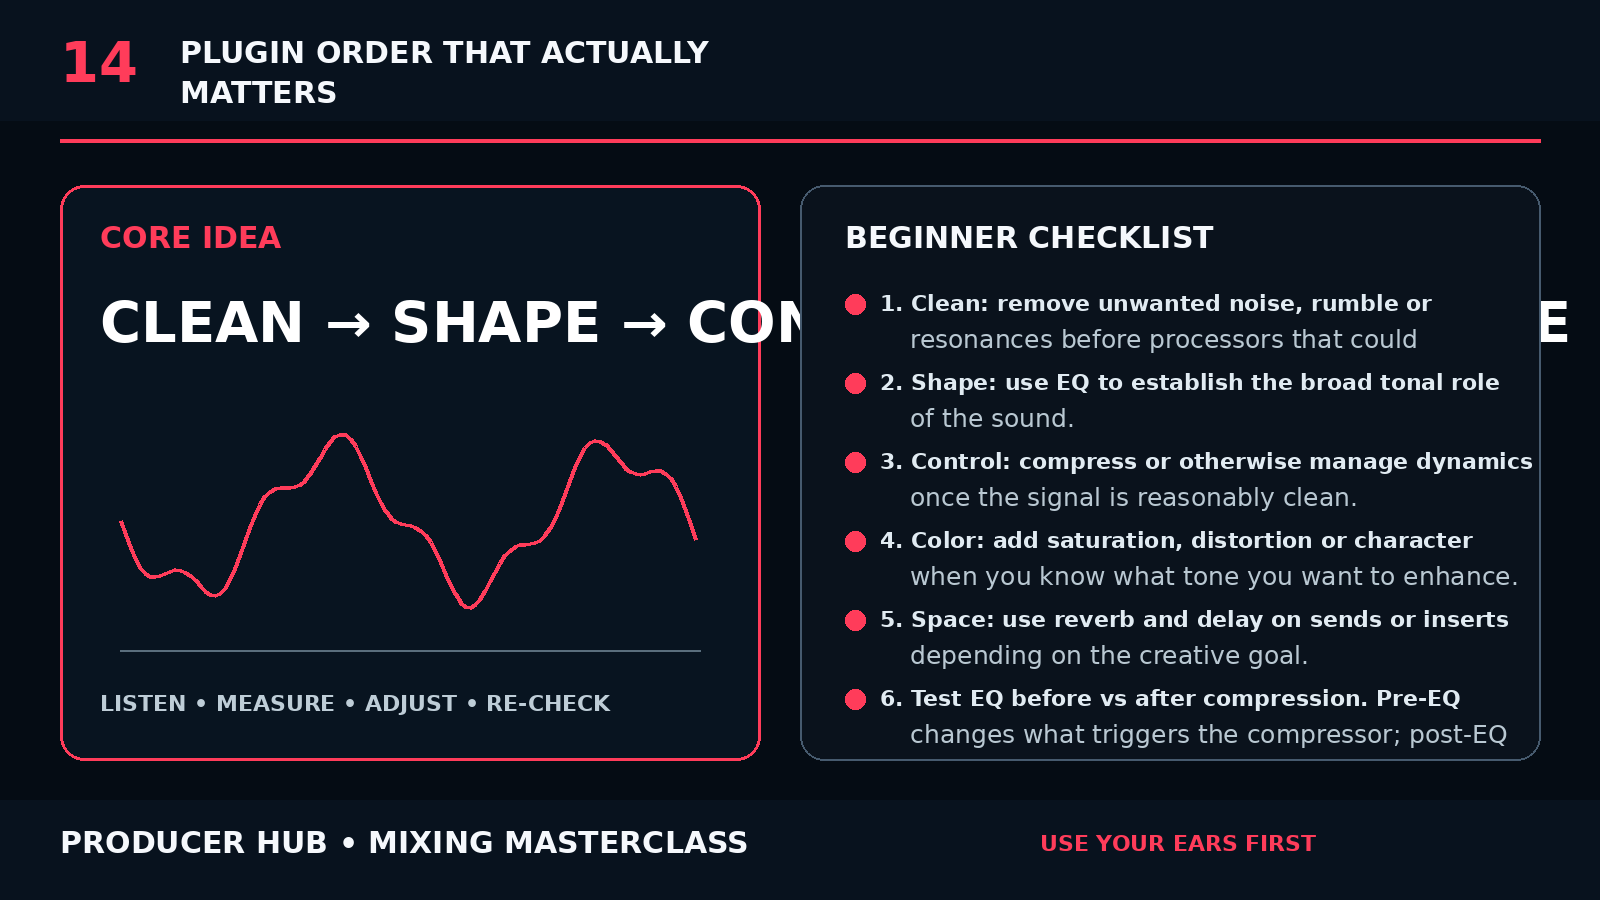
Learn why signal-chain order changes the result, a sensible starting workflow, and the creative reasons to break the order on purpose.
Open lesson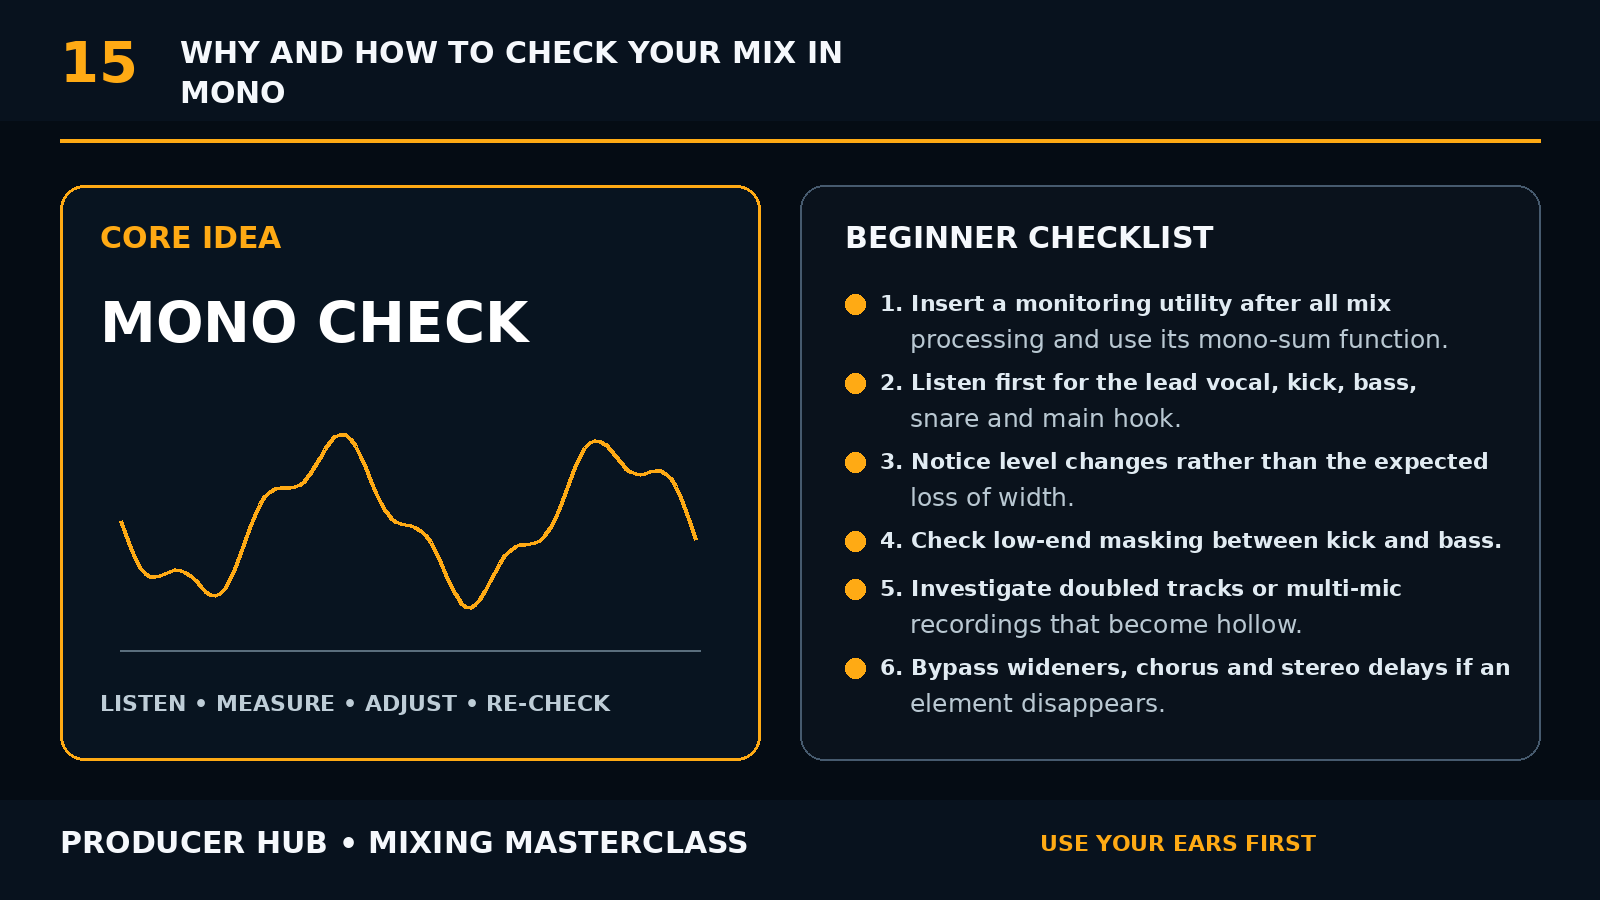
Use mono as a diagnostic tool to expose phase problems, masking, weak balances and low-end conflicts while preserving an exciting stereo mix.
Open lesson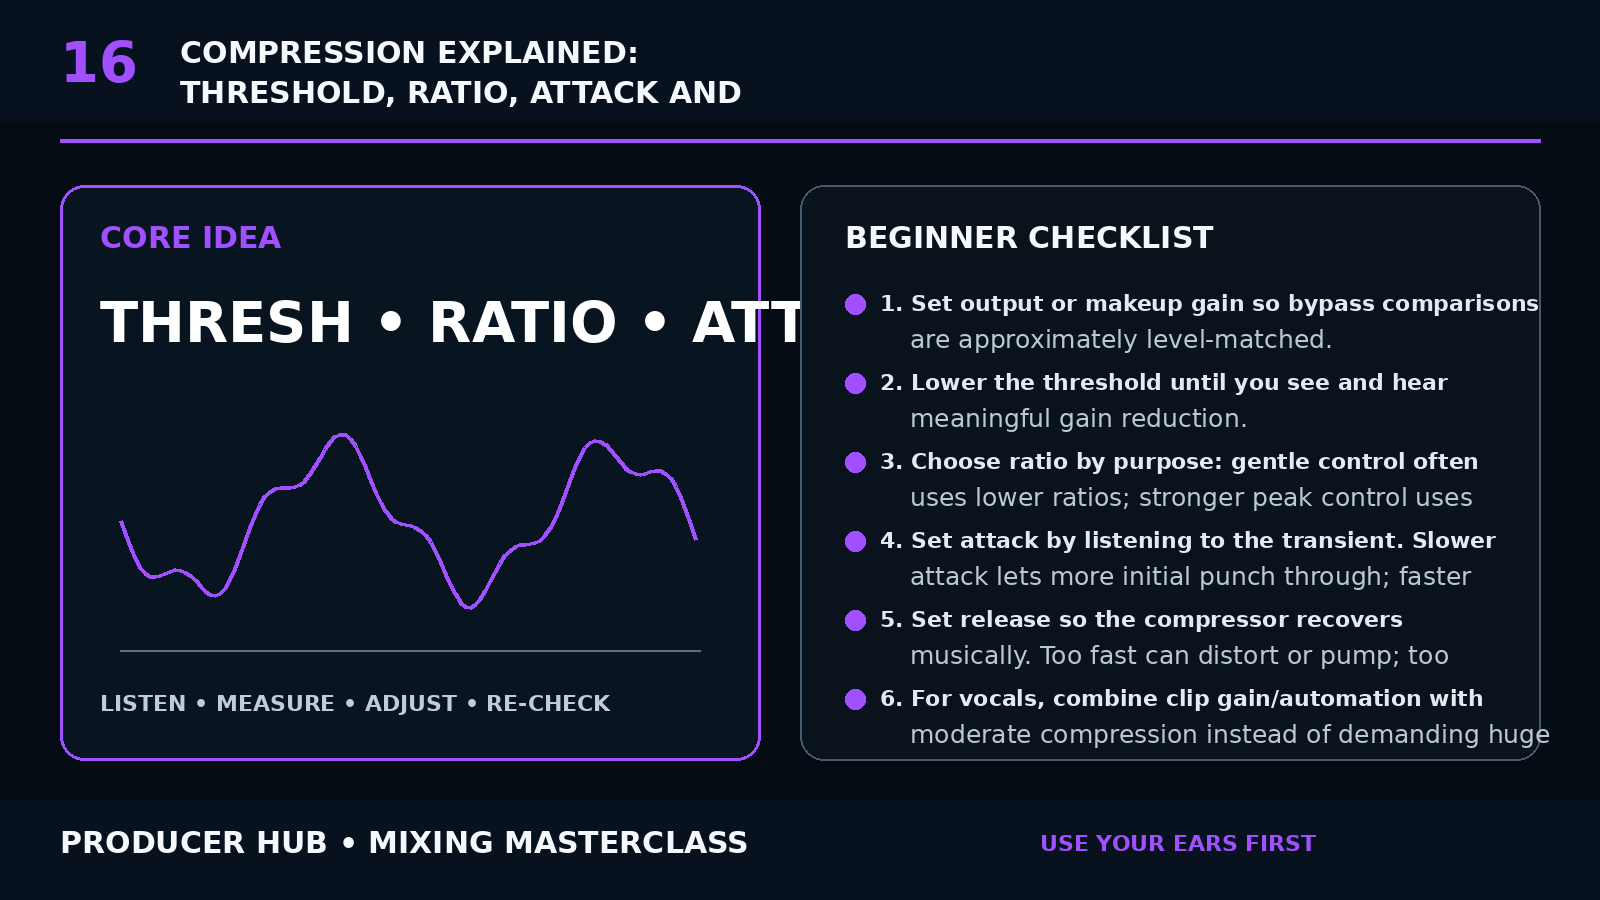
A practical beginner-to-intermediate guide to compression controls, gain reduction, transient shaping, vocal leveling, drum punch and musical release timing.
Open lessonThese are the core tutorial folders for the Mixing hub. Some already connect to finished deep guides, and the rest are structured so your screenshots can drop in as practical examples.
EQSubtractive EQ, frequency ownership, kick vs bass carving, M/S EQ and dynamic cuts.
Read full tutorialCompThreshold, ratio, attack, release, parallel compression and over-compression fixes.
Read full tutorialLow-endMono subs, bass layers, sidechain choices and low-volume reference checks.
Read full tutorialTrackA start-to-finish workflow from fader balance to final export discipline.
Read full tutorialVerbRooms, plates, sends, delay throws and keeping the drop clean.
Read full tutorialBusDrum bus, vocal bus, music bus, FX returns and restrained mix-bus polish.
Read full tutorialParallelDensity and excitement without flattening drums, vocals, synths or bass.
Read full tutorialBassClean pumping, groove-led ducking and keeping the low end powerful.
Read full tutorialChecksTranslation checks for bedroom setups, consumer playback and mono safety.
Read full tutorial
Pull every fader down, rebuild drums, bass, hook and vocals before touching plugins.
Kick and bass first. If they fight, no master chain will save the track.
Use fewer reverbs, shared sends and automation. Keep the drop drier than the breakdown.
Level-match a released track and compare only one issue at a time.
EQ is not just tone control. It is how you decide which part owns which space in the track.
Cut rumble, mud and harsh resonances before boosting. Most beginner mixes improve faster by removing what is blocking the main parts than by adding top end everywhere.
A sound that is huge in solo can be useless in the mix. EQ kick with bass playing, vocal with the instrumental playing, and synths against the hook they support.
Kick and sub own the bottom. Vocals and hooks need presence. Pads and support layers should avoid crowding the centre. Decide the job before touching the bands.
Use mid/side EQ to keep low-end in the centre, clean mud from the mid channel and add air to the sides. Do not make the side channel carry the whole song.
Use compression to shape punch, consistency, sustain and groove. Do not use it just because a channel looks naked.
Slower attack lets the transient through and keeps drums punchy. Faster attack catches the transient and can make sounds smoother but smaller.
Release decides how quickly the sound recovers. Time it to the rhythm so compression breathes with the track instead of dragging behind it.
Blend a heavily compressed copy under the dry signal for drum excitement, vocal density or synth sustain while keeping the original punch.
A limiter catches peaks and raises level. It cannot fix a crowded arrangement, boomy bass or harsh mix without side effects.
Clip or control obvious drum peaks, remove inaudible sub rumble and balance the vocal/hook. The limiter should not be doing 8 dB of rescue work.
Increase gain until the track feels louder, then back off when kick punch, vocal clarity or groove starts collapsing. Level-match to judge tone, not volume.
Keep an un-limited pre-master and a limited preview. If someone else masters the track, send the clean version with enough headroom.
Use saturation for harmonics, density and character. It is especially useful on bass, drums, vocals, synths and buses when used deliberately.
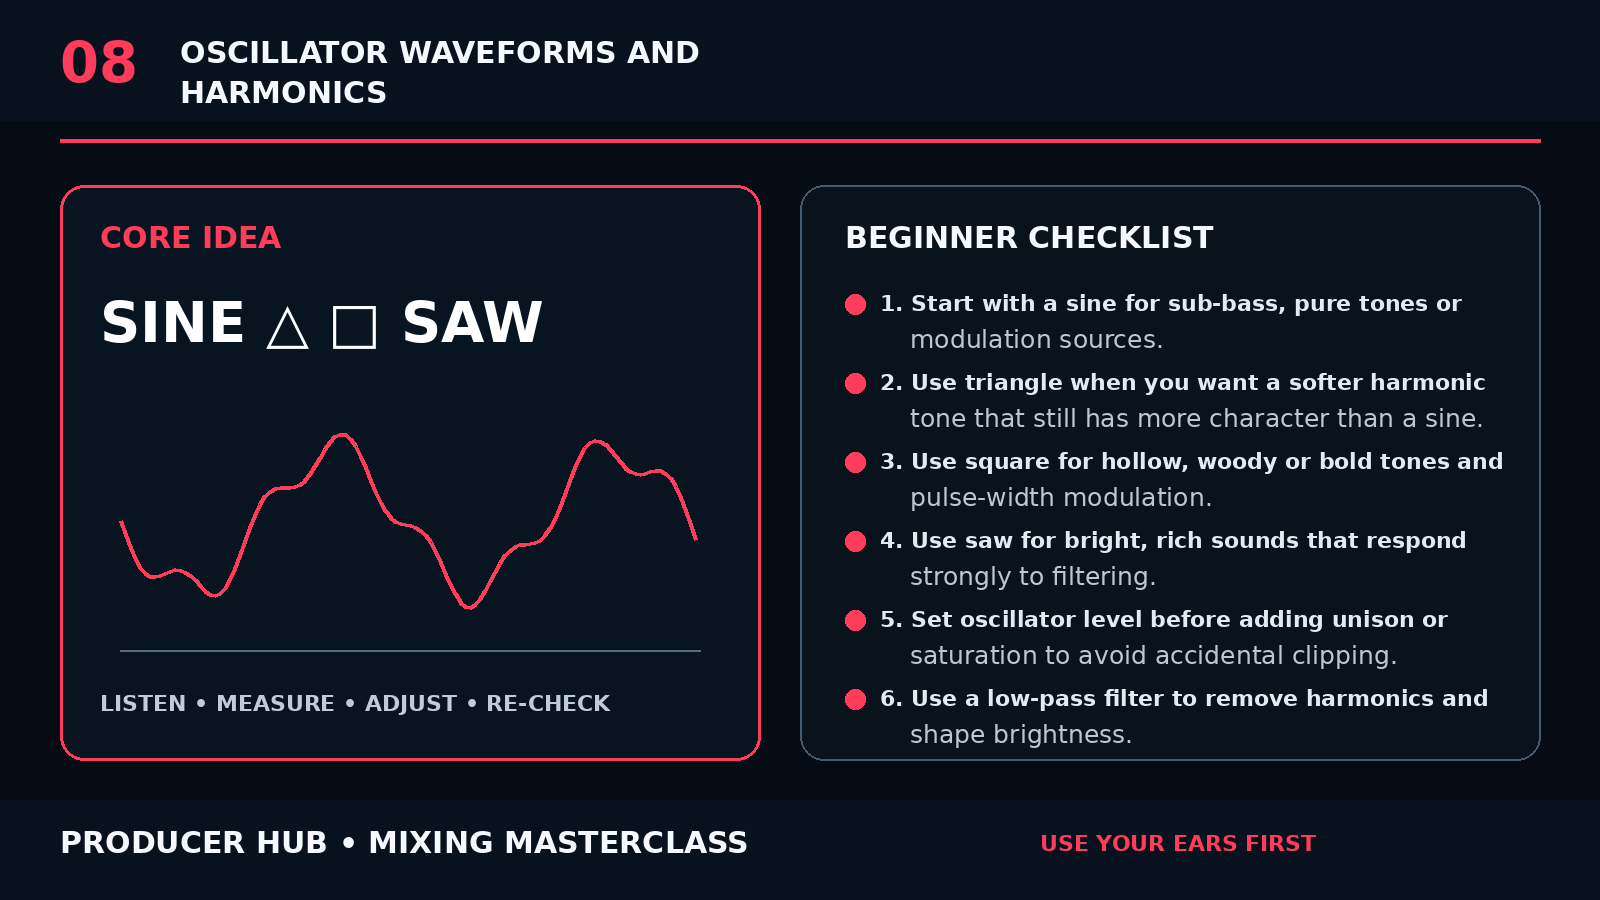
Keep sub clean, saturate the mid layer. This creates harmonics that translate on laptops and phones without destroying headroom.
Add a little drive on drum buses for density, or push parallel saturation for excitement. Stop before cymbals become brittle.
Subtle saturation can bring a vocal forward before heavy EQ. Use it gently so consonants stay controlled.
Use tiny amounts only after the balance works. Too much mix-bus colour can make revisions harder and flatten the arrangement.
Width feels impressive only when the centre is strong. Mono compatibility is not old-fashioned; it is how mixes survive real playback systems.
Keep sub bass, kick fundamental and the main low-end relationship in mono. Stereo sub can create phase cancellation and weak translation.
Use stereo spread on pads, FX, backing vocals, percussion and ear candy. Do not widen every main element or the mix loses focus.
Check mono after widening, chorus, Haas effects, stereo delays and M/S EQ. If the hook vanishes, the stereo trick is carrying too much.
A vocal sits when the performance, edit, level, tone, dynamics and space all support the lyric.
Clean breaths, clicks, timing distractions and noisy gaps. Level rough phrases before compression so the compressor is not chasing bad editing.
High-pass rumble, reduce boxiness, tame harshness and leave enough presence for words. Do not scoop so much that the vocal loses body.
Use one compressor for peaks and another for gentle consistency if needed. Heavy one-stage compression often makes vocals sound trapped.
Control sibilance after EQ/initial compression. If the vocal hurts only on certain words, use automation or dynamic EQ instead of dulling the whole take.
Use a short room or plate for closeness, then tempo delays for depth. Filter reverb and delays so they do not mask the lead vocal.
Final vocal placement is often volume automation. Ride words into the track instead of expecting one compressor setting to solve every phrase.
Drums need hierarchy: kick gives weight, snare/clap gives identity, hats give motion, percussion gives detail and the drum bus gives cohesion.
Choose the right kick before processing. Tune or shorten if needed. Leave space for bass instead of stacking low-end by accident.
Make the backbeat audible in the midrange. Add body if it is thin, tame crack if it is harsh, and use short ambience for depth.
Control harsh 6-10 kHz build-up. Velocity and timing matter more than bright EQ. Hats should create movement without slicing the listener's ear.
Use light compression, saturation or parallel processing. If the bus removes kick punch or makes cymbals spit, the setting is too much.
Synths are easy to make impressive in solo. The mix job is making them support the groove, vocal or hook.
High-pass lows, control harsh upper mids, use delay for space and keep the centre strong enough that the lead survives mono.
Cut low-end, soften harshness and use stereo width carefully. Pads can be wide, but they should not cover vocals, snares or lead hooks.
Sub gives weight, mid layer gives audibility, top layer gives character. Process each job differently, then bus them together.
Good bus processing makes related tracks feel like one instrument. Bad bus processing makes everything smaller.
Use for shared tone, parallel compression and saturation. Keep kick punch intact.
Use for final de-essing, tone, light compression and shared space across lead, doubles and ad-libs.
Use for broad EQ, gentle compression and making pads/chords/samples sit behind the main hook.
Use to combine sub and mid layers, but keep mono sub discipline and check phase.
Use shared reverbs and delays to make separate sounds feel like they live in the same track.
Use gently for final tone and control. The mix bus should polish, not repair.
Mute parts before EQ. If pads, bass mids and reverb all live around 200-500 Hz, decide which one owns that space.
Usually the build is too loud, too full or too wide. Make the pre-drop smaller and the drop simpler.
Dynamic EQ or de-essing around the harsh band works better than a static scoop that kills excitement.
Shorten the bass note, sidechain the right layer and make sure your kick sample is not fighting the song key.
Keep sub mono, check correlation and make width a contrast tool: breakdown wider, drop more centered.
Fix peaks before limiting. Clip drums gently, control subs and avoid feeding huge inaudible lows into the limiter.
Check the groove at quiet volume, on headphones and through a phone speaker. The bass should still imply pitch when the sub disappears.
Use compression for feel, volume shaping for surgical EDM pumping. Do not sidechain every layer the same amount.
Leave headroom, export cleanly and keep a version without limiter so future mastering decisions stay reversible.
If the track only works loud, the balance is lying. Turn it down until it is barely audible and check whether kick, bass, hook and vocal identity still make sense.
Most bedroom mixes fall apart because the low-end is wide, phasey or overcrowded. Keep sub information stable, then let width happen above the fundamentals.
A reference track is a measuring stick, not a template. Compare one issue at a time: low-end amount, vocal/hook level, brightness, width or loudness.
The master chain should reveal a good mix, not rescue a broken one. If the limiter is doing all the excitement, go back to drums, bass and arrangement contrast.