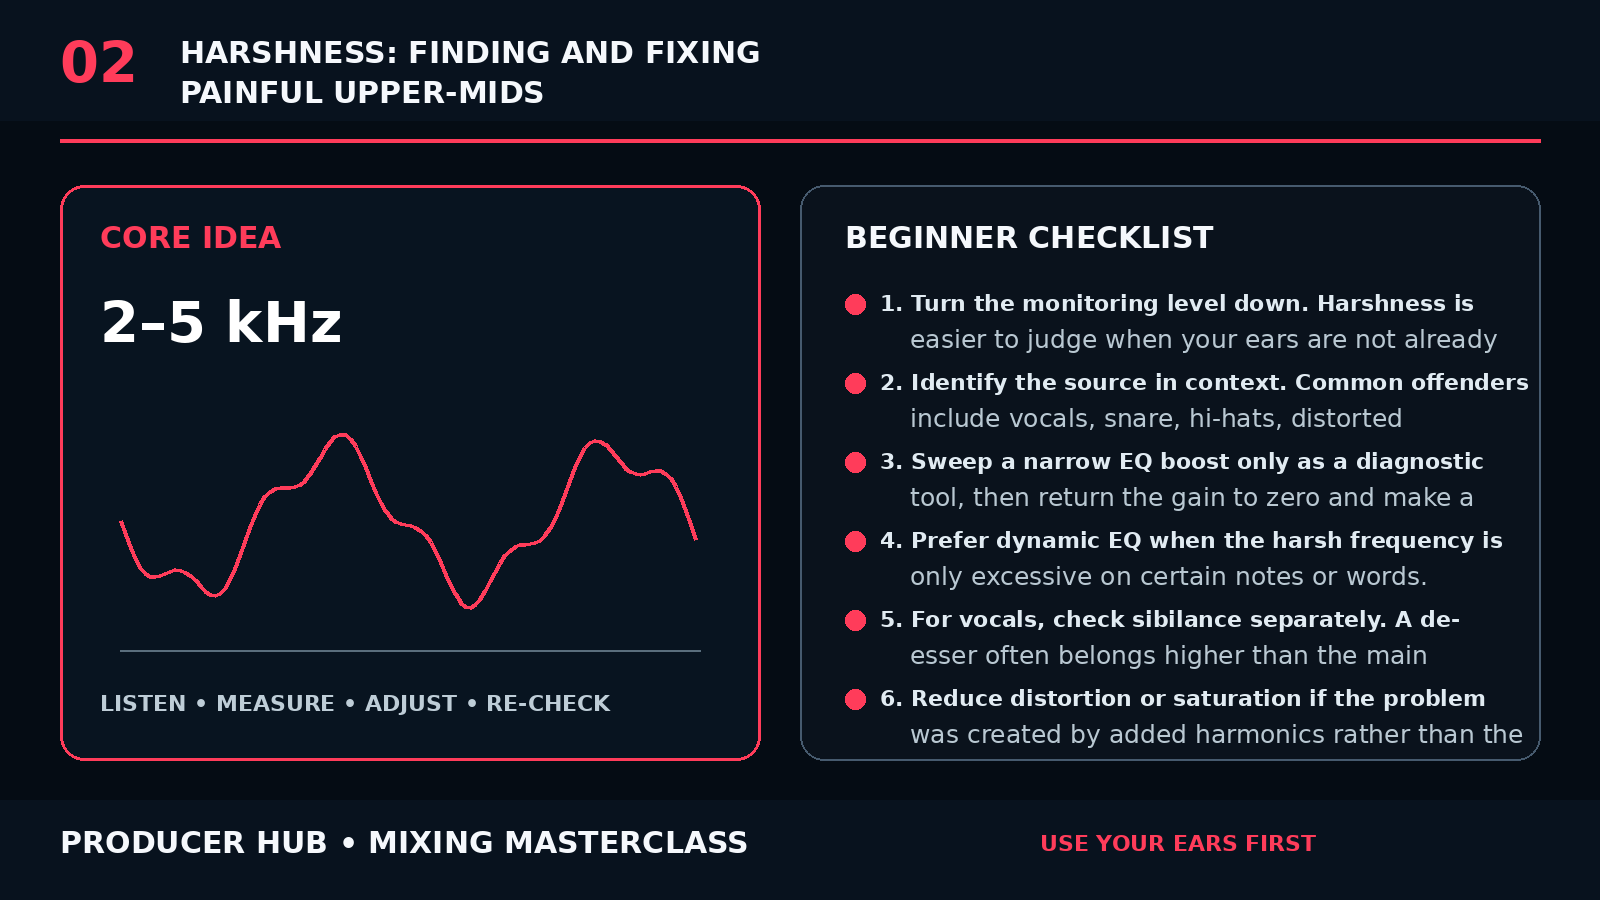
The Core Concept
Harshness is not simply “too much treble.” It is usually an unpleasant concentration of energy, resonances or distortion that makes the mix feel sharp, piercing or fatiguing.
A common problem area is roughly 2–5 kHz, but harshness can occur elsewhere depending on the source, monitoring level and arrangement.
The goal is not to scoop a fixed frequency range. The goal is to identify the specific source and moment that becomes painful.
Step-by-Step Tutorial
- Turn the monitoring level down. Harshness is easier to judge when your ears are not already fatigued.
- Identify the source in context. Common offenders include vocals, snare, hi-hats, distorted guitars, brass and bright synths.
- Sweep a narrow EQ boost only as a diagnostic tool, then return the gain to zero and make a modest cut at the actual resonance.
- Prefer dynamic EQ when the harsh frequency is only excessive on certain notes or words.
- For vocals, check sibilance separately. A de-esser often belongs higher than the main harshness zone.
- Reduce distortion or saturation if the problem was created by added harmonics rather than the original recording.
- Check compression. Fast, heavy compression can push upper-mid detail forward and make attacks feel aggressive.
- Create arrangement space. Two bright sources playing the same register can sound harsh together even if each sounds acceptable alone.
- Compare against a level-matched reference. Brightness can be exciting; harshness is tiring.
- Take ear breaks and re-check at low volume before committing to large EQ cuts.
Common Mistakes
- Automatically cutting 2–5 kHz on every track
- Confusing brightness with harshness
- Boosting high shelves to compensate after excessive cuts
- Soloing for too long and ignoring the full mix
- Trying to fix distortion with EQ alone
Guided Practice
Loop the loudest chorus and mark three moments that feel tiring. Find which source causes each moment, then solve each with the smallest effective move: level, EQ, dynamic EQ, saturation reduction or arrangement change.
Turn this lesson into a 20-minute mix drill
Duplicate
Save a copy of the session before changing the mix.
Solo less
Make every move while the main groove or vocal context is playing.
Level match
Bypass the change at equal loudness so louder does not trick you.
Export
Print a short before/after bounce and listen away from the DAW.