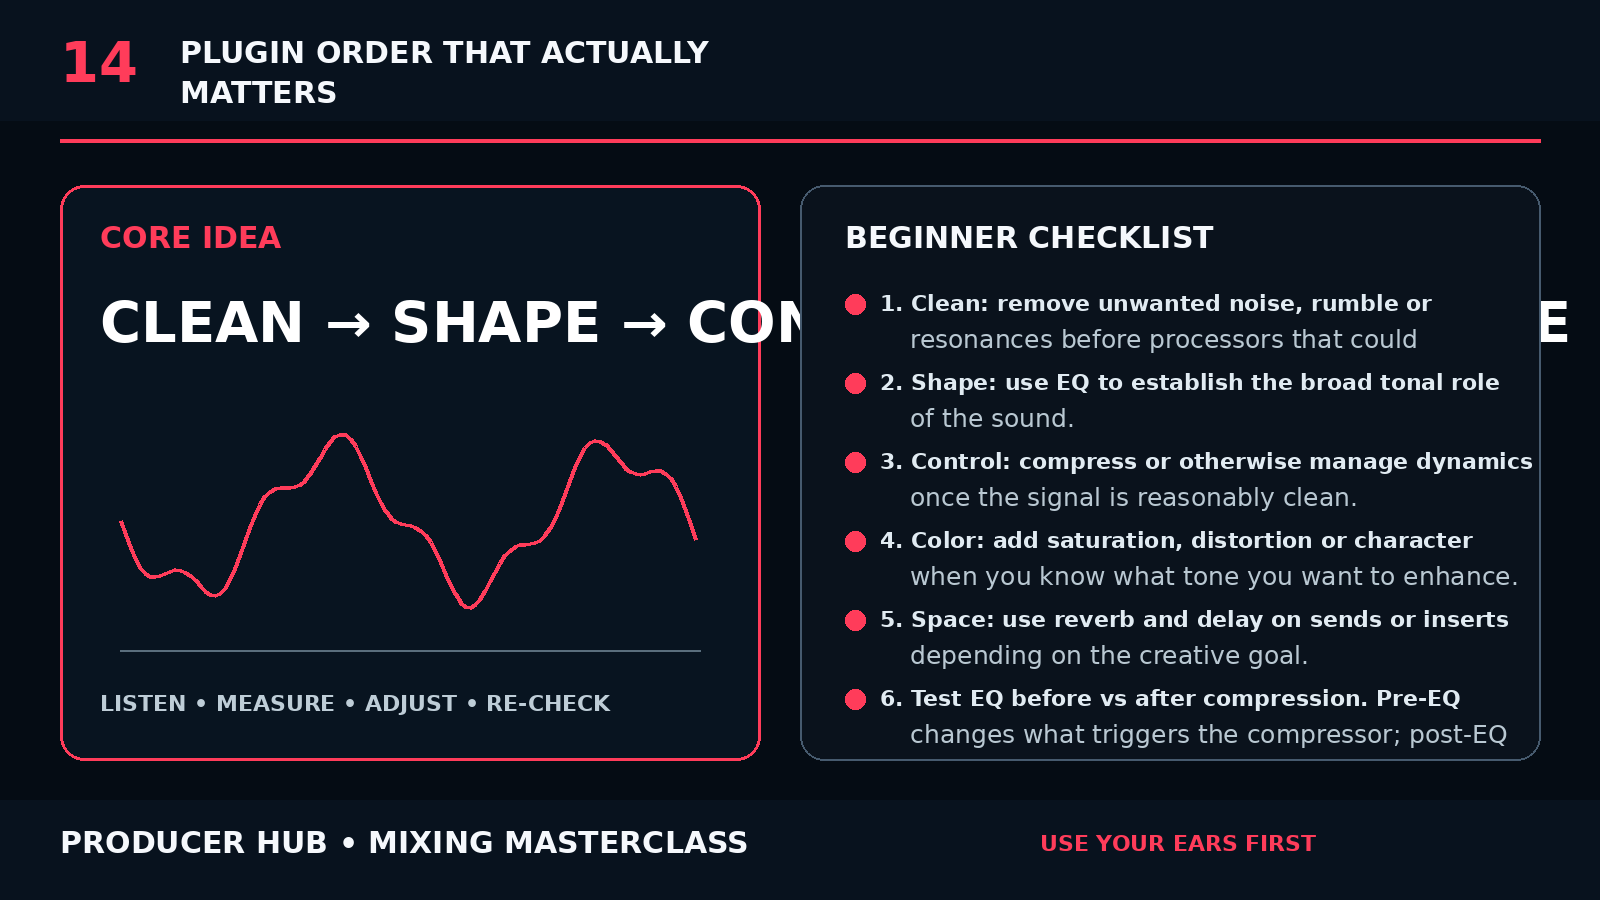
The Core Concept
Plug-ins process the signal they receive, so changing order changes what each processor reacts to.
A useful starting logic is corrective cleanup, tonal shaping, dynamics, colour and then time-based effects — but this is a workflow, not a law.
The correct order is the one that produces the intended result with the least unnecessary complexity.
Step-by-Step Tutorial
- Clean: remove unwanted noise, rumble or resonances before processors that could exaggerate them.
- Shape: use EQ to establish the broad tonal role of the sound.
- Control: compress or otherwise manage dynamics once the signal is reasonably clean.
- Color: add saturation, distortion or character when you know what tone you want to enhance.
- Space: use reverb and delay on sends or inserts depending on the creative goal.
- Test EQ before vs after compression. Pre-EQ changes what triggers the compressor; post-EQ changes the compressed tone.
- Test saturation before compression for more harmonically driven compression, or after for controlled colour.
- Compress reverb when you want pumping or controlled tails.
- Use de-essing before or after compression depending on whether compression exaggerates sibilance.
- Bypass and reorder deliberately rather than following a diagram blindly.
Common Mistakes
- Believing there is one mandatory chain
- Adding every processor to every track
- Using corrective EQ after heavy distortion when the distortion is amplifying the problem
- Ignoring gain changes between plug-ins
- Changing order without level-matching
Guided Practice
On one vocal, create three chains: EQ→compressor, compressor→EQ, and saturation→compressor→EQ. Match loudness and write down how the compressor behaviour and tone change.
Turn this lesson into a 20-minute mix drill
Duplicate
Save a copy of the session before changing the mix.
Solo less
Make every move while the main groove or vocal context is playing.
Level match
Bypass the change at equal loudness so louder does not trick you.
Export
Print a short before/after bounce and listen away from the DAW.