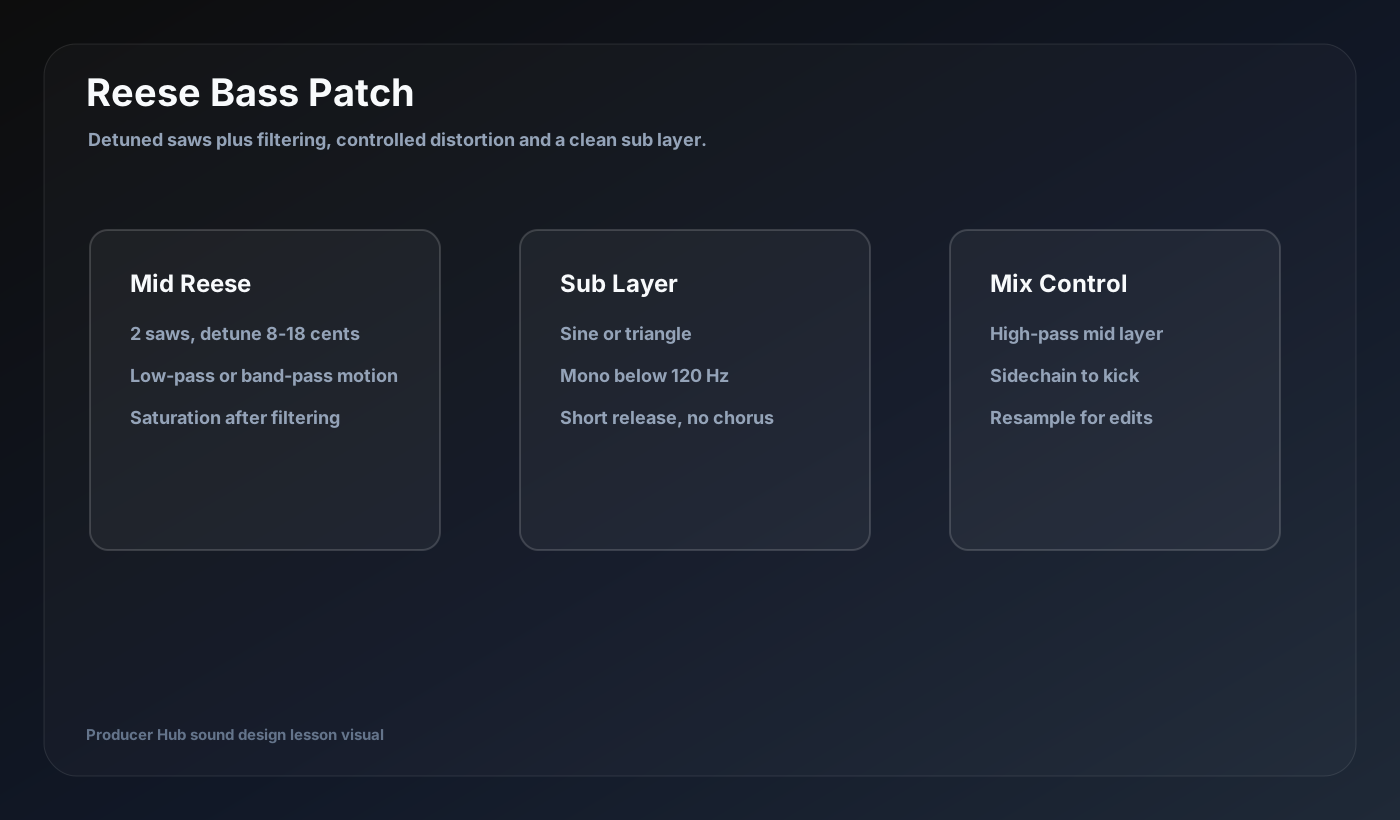
A Reese bass is a moving, detuned bass sound built from overlapping oscillators. The magic is not just detune; it is the balance between a stable sub and a character layer that moves without destroying the low end.
Start with the mid layer
Load two saw oscillators or one synth oscillator with unison. Detune gently, usually enough to create beating but not so much that the pitch falls apart. Keep the patch in mono while designing the core so you hear whether the tone is solid.
Low-pass the mid layer until the harsh top end is controlled. Add a little resonance or notch movement only if it supports the rhythm.
Add a clean sub
Create a separate sine or triangle sub layer following the same MIDI. Keep it mono. Low-pass it if needed and avoid chorus, phaser or wide effects on the sub. The sub is the anchor; the Reese layer is the character.
High-pass the mid Reese layer around the point where it stops fighting the sub. The exact frequency depends on the note, but the decision is always the same: stable weight below, movement above.
Create movement
Use a slow LFO on filter cutoff, wavetable position, phase, pan or a notch filter. Keep movement musical and tempo-aware. Too much movement makes the bass impressive in solo and useless in the drop.
Try automating movement intensity between sections: calmer in verses, wider or brighter before the drop, tighter during the main groove.
Process and resample
Add saturation to the mid layer, then EQ any mud or harshness. Compression is optional; clipping or saturation often controls peaks more naturally for electronic bass. Once the movement feels right, resample a few bars and edit the audio for fills.
Resampling lets you reverse, chop, pitch, gate and filter the Reese without overcomplicating the synth patch.
Mix placement
Sidechain the bass to the kick if the genre needs it. Check the bass on headphones, monitors and a small speaker. If the bass disappears on small speakers, add upper harmonics to the mid layer rather than boosting the sub.
Do not let stereo width below the low mids compromise the centre. Keep the power focused.
Turn this into a patch-building drill
Open your DAW, build the patch from a blank synth, then save the result with a job-based name. The goal is not to copy settings blindly; it is to understand why every stage exists.
- Separate sub and mid layers.
- Detune enough for motion, not pitch drift.
- High-pass the mid layer.
- Add saturation for translation.
- Resample for fills and edits.