Ableton Live
Session View, Arrangement View, Drum Rack, Simpler, Wavetable, racks, automation and a 30-day practice map.
Open Ableton hubStart with a beginner roadmap, choose your DAW, then build skills in arrangement, sound design, mixing, samples, plugins and studio workflow.
Each route now has a stronger visual identity and a practical outcome: build a loop, arrange it, design the sound, mix it and export it.
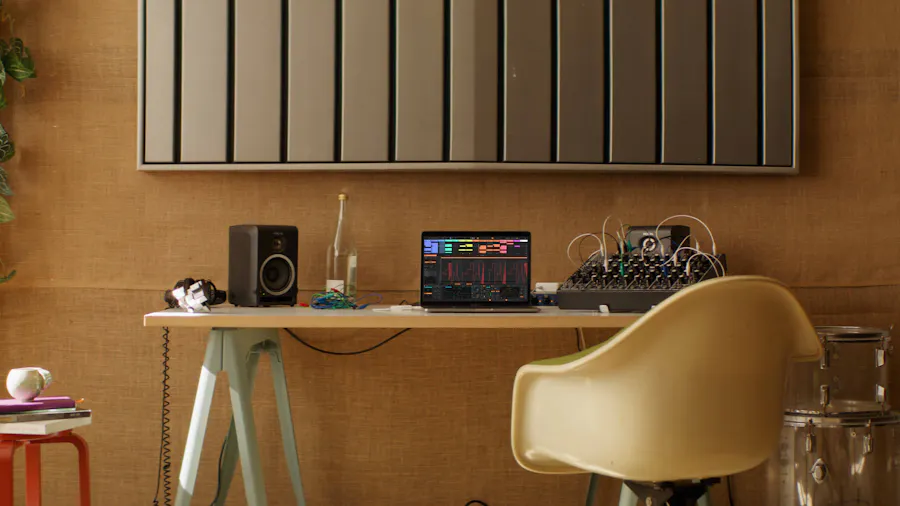
Ableton, FL Studio, Logic, Cubase, Pro Tools, Bitwig and Reason routes for turning ideas into finished tracks.

Genre recipes for house, techno, DnB, garage and melodic techno with bar-by-bar structure.

Kick/bass control, reference workflow, sidechain choices, harshness fixes and master-bus restraint.
Big tutorial libraries are useful only when the route is obvious. These paths keep producers moving from confused to finished.
A simple six-step route: choose your DAW, set up audio, make an 8-bar loop, arrange it, download free tools and join the list.
Core production concepts, DAW workflow, drums, bass and the first finished track.
Arrangement, sound selection, reference tracks, mix balance and finishing habits.
Creative processing, resampling, rack design, translation checks and pro-level polish.
Plain-English explanations for routing, busses, stems, M/S EQ, saturation, limiting, VCAs and other terms.
Session View, Arrangement View, Drum Rack, Simpler, Wavetable, racks, automation and a 30-day practice map.
Open Ableton hubHouse, techno, DnB, trance, UK garage and melodic techno blueprints with arrangement and drop checklists.
Open EDM hubSub, reese, supersaw, drum punch, atmosphere, risers and fast recipes for stock devices, Serum and free synths.
Open sound design hubLow-end, sidechain, width, harshness, loudness, references and the order that stops mixes going in circles.
Open mixing hubWhere to use Loopmasters, Loopcloud, Splice and Beatport without letting sample browsing replace finishing.
Browse sample hubsPlugin Boutique picks, free VSTs and tool categories grouped by actual production job.
Browse plugin hubsThese are the core decisions every producer needs before mastering: EQ for space, compression for movement, saturation for density, stereo for width and limiting for controlled loudness.
Use high-pass filters to remove low-end rumble, subtract mud before adding shine, and make EQ decisions in context. Kick, bass, vocals and synths should each own a clear frequency role.
Attack shapes punch, release shapes groove, ratio controls force and threshold decides when the compressor works. Use it when dynamics are distracting or when a part needs steadier energy.
A limiter should make a good mix louder, not flatten a messy one. Control kick, snare and sub peaks first, then use limiting gently for rough masters and previews.
Use M/S EQ to keep sub and kick energy in the mid channel, clean mud from the centre, and add air to the sides without weakening mono compatibility.
Saturation helps bass, drums and vocals read on small speakers. Use it before simply turning sounds up. Distort mid layers more than sub layers.
Keep kick, sub, lead vocal and main groove stable. Widen pads, FX, backing layers and ear candy. Check mono so the song still works without stereo tricks.
The mix gets easier when every major part has a job: vocals carry words, drums carry impact, bass carries weight, synths carry emotion and buses hold related parts together.
Start with editing and level automation before plugins. High-pass rumble, reduce boxiness, control harshness or sibilance, compress in stages if needed, then use short ambience plus timed delays so the vocal feels present without sounding dry.
Balance kick, snare/clap and hats before drum-bus processing. Keep the kick focused, make the snare speak in the midrange, control harsh hats, then use bus saturation or parallel compression for energy.
Keep sub mono, use mid harmonics for small speakers, sidechain around the kick and avoid stacking multiple low-end parts. If the bass vanishes on phone speakers, add harmonics rather than more sub.
Decide whether each synth is a hook, pad, rhythm layer or atmosphere. High-pass support parts, tame harsh upper mids, use stereo width above the low end and automate filters or sends for section movement.
Treat loops and guitars as arrangement parts, not wallpaper. Cut lows that fight bass, notch resonances only in context, and use panning or call-and-response to keep them away from vocals and leads.
FX should mark transitions, not fill every gap. Use reverse tails, delay throws, noise lifts, impacts and silence to guide the listener between sections.
A bus is where related tracks become one musical object. Use buses for control, shared tone, parallel processing and cleaner stem exports.
Route kick, snare, hats and percussion into one drum group. Use gentle saturation, light compression or parallel compression to make the kit feel connected. If the bus makes the kick smaller, back off.
Separate sub and mid bass if needed, then route them together. Keep the sub clean and mono while the mid layer carries grit. Bus processing should preserve note clarity.
Chords, pads, leads and samples can share small EQ moves and subtle compression. This helps musical layers sit behind vocals or the main hook without editing every track separately.
Use a vocal bus for final tone, de-essing, light compression and shared space. Keep lead vocal intelligibility in the centre; put doubles, delays and ad-libs around it.
Use returns for shared reverb and delay. A track sounds more cohesive when elements share a few spaces instead of every sound having a different reverb.
Use the mix bus gently: a little tone, glue or peak control after the mix already works. If the mix bus fixes everything, the track balance underneath still needs work.
Make one drum rack, bass patch or sample chain. Save it.
Create one 8-bar idea using that sound. Keep it rough.
Stretch the loop into a start, middle and drop. Do not mix yet.
Balance, reference, export and write one lesson for the next track.
These are the evergreen how-to topics that should live under Learn rather than inside the news desk.
Fast capture, automation discipline, reusable chains, resampling and keyboard-led workflow for faster sessions.
Entry-level interface picks for clean recording, low-latency monitoring and reliable bedroom-studio workflow.
Low-end separation, sub/mid layers, sidechain choices and translation checks for club music.
Wavetable movement, bass patch structure, lead design and free-synth alternatives.
House, techno, DnB, trance, garage and melodic techno arrangement maps.
Stem separation, sample discovery, mastering assistants, idea generation and rights-aware workflows.
These links are grouped by subject so visitors can jump from one written guide into the next useful Producer Hub route.
A simple all-DAW tutorial for drums, bass, hook, arrangement, rough mix and export.
Compare beginner-friendly workflows before committing to Ableton, FL Studio, Logic, Cubase, Bitwig, Pro Tools or Reason.
Best for first-time producers who need the DAW layout, idea workflow and export path explained clearly.
A focused starter stack: one synth, one sampler, one EQ, one analyser, one reverb and one meter.
Useful for intro, build, breakdown and drop energy without just reading bar counts.
For bass, supersaw, pluck and FX design workflows you can rebuild from memory in any DAW.
Good for sidechain amount, sub balance and reference-track decisions in context.
Use the beginner DAW comparison first, then commit to one DAW long enough to finish three complete rough tracks.
1. Build an 8-bar loop with drums, bass and one hook. 2. Duplicate it into a 64-bar sketch. 3. Remove parts before adding fills. 4. Automate only three things: filter, reverb send and noise/FX level. 5. Export a rough version before mixing.
1. Make a clean mono sub. 2. Add a mid bass layer for harmonics. 3. Saturate the mid, not the sub. 4. Sidechain the low band harder than the high band. 5. Test quietly and on phone speakers.
1. Balance kick, bass and lead first. 2. Mute supporting layers until the drop feels clear. 3. Add width above the bass only. 4. Keep breakdown reverb bigger than drop reverb. 5. Reference at matched loudness.