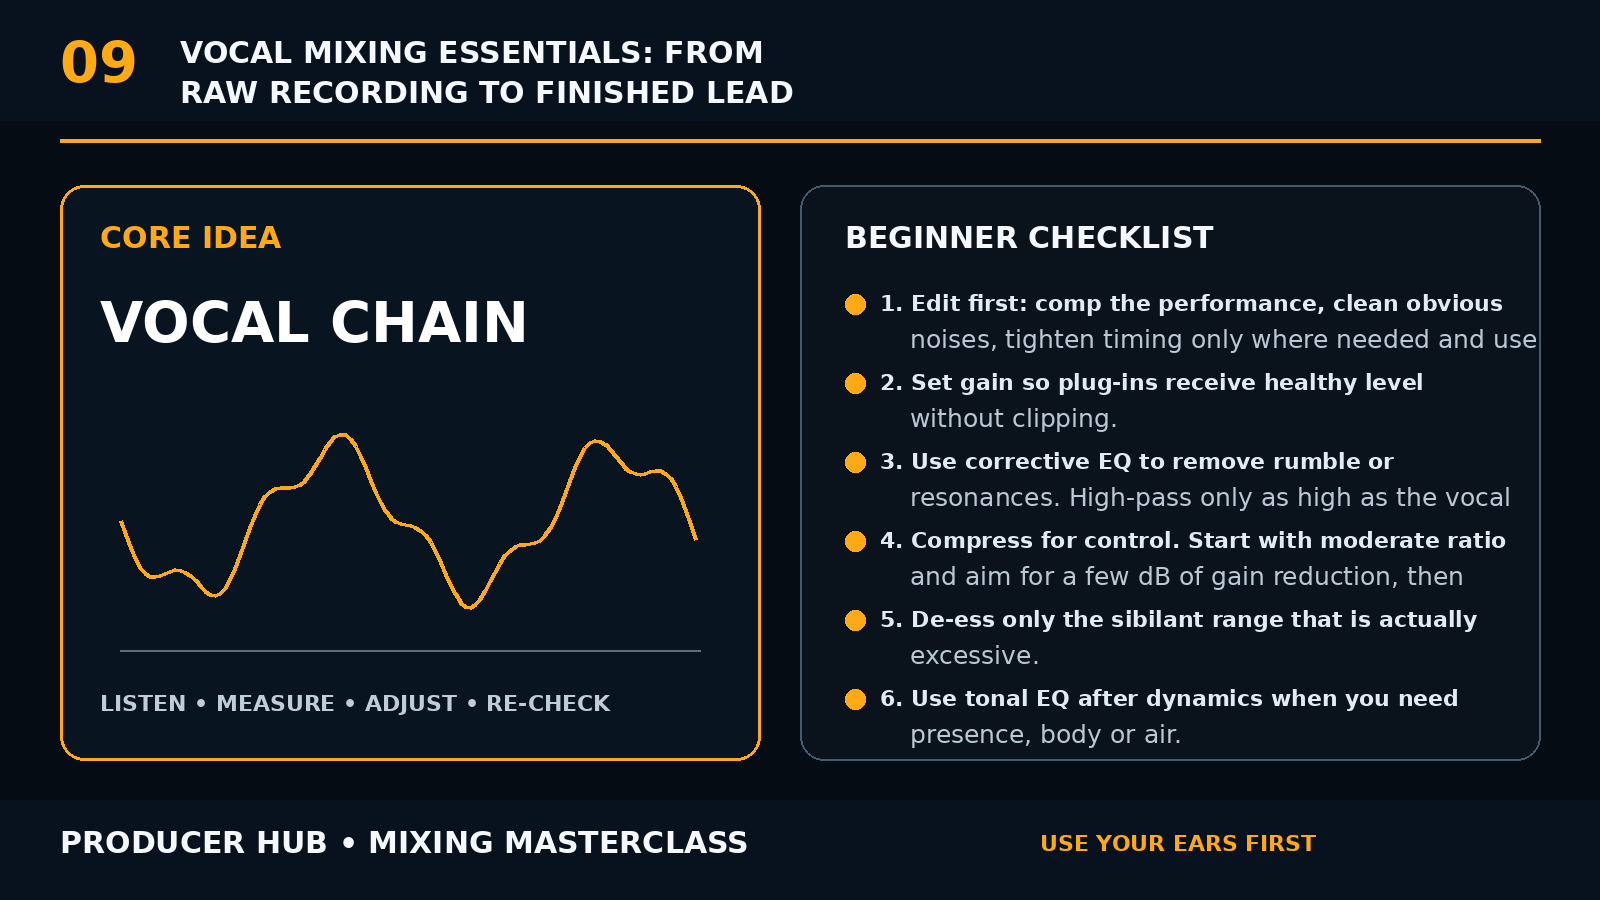
The Core Concept
A polished vocal begins with a clean performance, sensible recording level and good editing. Processing cannot fully repair poor capture.
The vocal’s job is usually intelligibility, emotion and consistency. Every processor should support one of those goals.
There is no universal vocal chain. Order changes depending on the recording and creative intent.
Step-by-Step Tutorial
- Edit first: comp the performance, clean obvious noises, tighten timing only where needed and use clip gain to reduce extreme level differences.
- Set gain so plug-ins receive healthy level without clipping.
- Use corrective EQ to remove rumble or resonances. High-pass only as high as the vocal allows.
- Compress for control. Start with moderate ratio and aim for a few dB of gain reduction, then adjust attack/release by ear.
- De-ess only the sibilant range that is actually excessive.
- Use tonal EQ after dynamics when you need presence, body or air.
- Add saturation gently for density and harmonic interest.
- Create depth with sends. Use short ambience or plate for glue and timed delays for width and movement.
- Automate vocal level and effects so important words remain clear without over-compressing.
- Check the vocal against the instrumental, not in solo, and reference at matched loudness.
Common Mistakes
- Over-compressing to avoid automation
- Boosting air before controlling sibilance
- Using too much reverb on every phrase
- Cutting all low mids and making the vocal thin
- Mixing the vocal in solo
Guided Practice
Mix one vocal with no compressor. Use clip gain and fader automation first. Then add gentle compression and compare how much less work the compressor needs to do.
Turn this lesson into a 20-minute mix drill
Duplicate
Save a copy of the session before changing the mix.
Solo less
Make every move while the main groove or vocal context is playing.
Level match
Bypass the change at equal loudness so louder does not trick you.
Export
Print a short before/after bounce and listen away from the DAW.