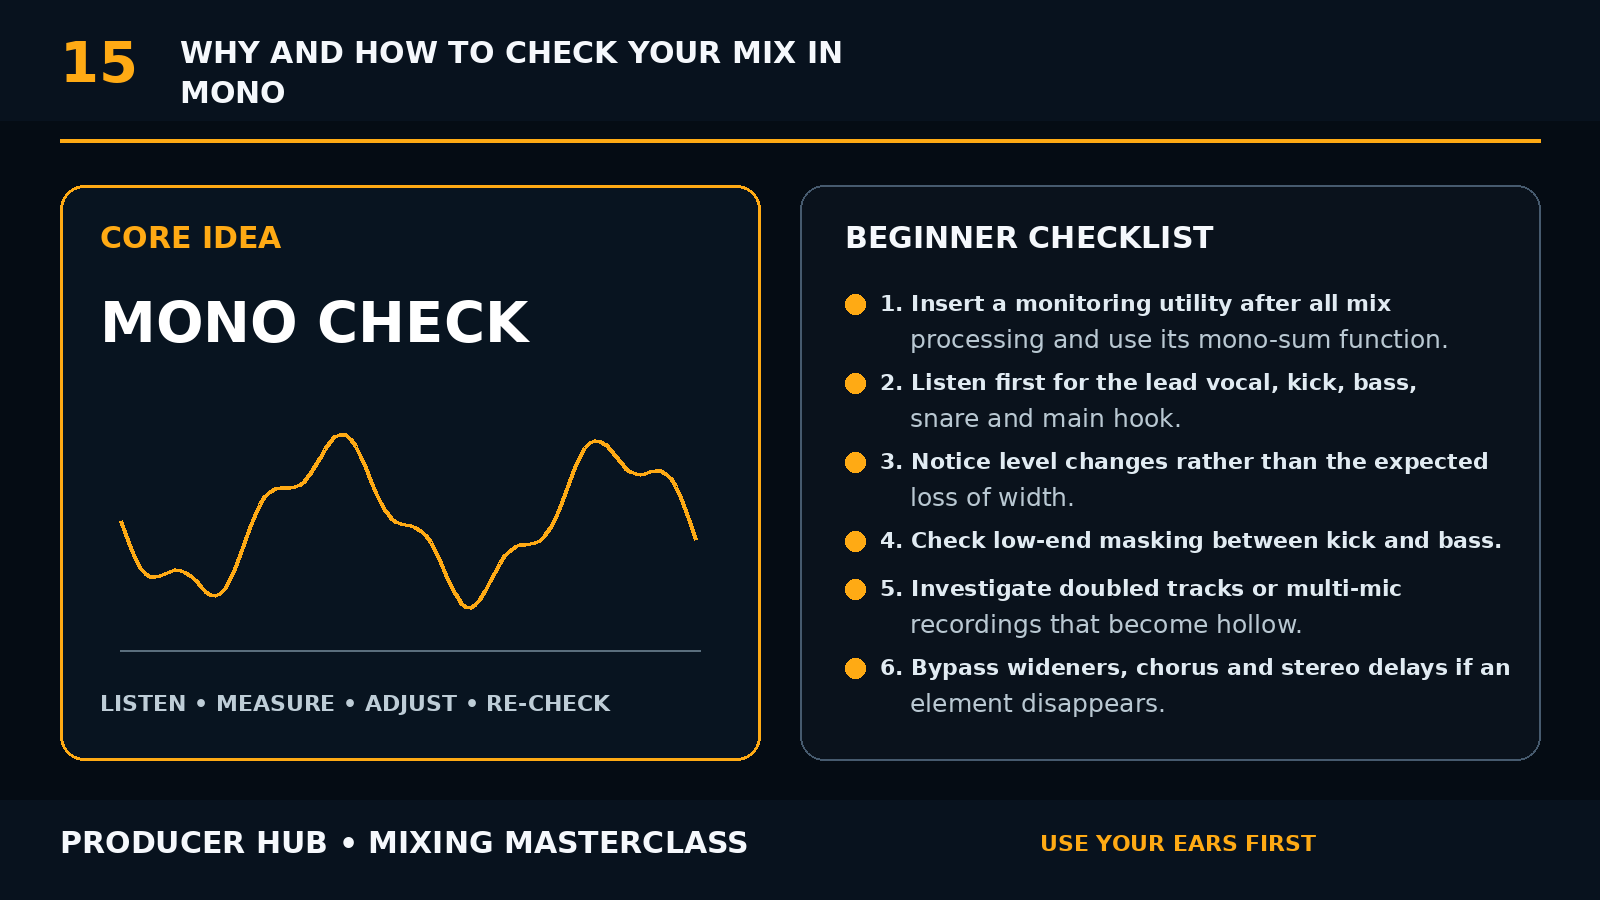
The Core Concept
A mono check removes the spatial separation created by left/right playback, making level and frequency competition easier to hear.
Mono is a diagnostic test, not a command to make the final mix mono.
If an important element becomes dramatically weaker in mono, investigate phase, timing, stereo processing or masking.
Step-by-Step Tutorial
- Insert a monitoring utility after all mix processing and use its mono-sum function.
- Listen first for the lead vocal, kick, bass, snare and main hook.
- Notice level changes rather than the expected loss of width.
- Check low-end masking between kick and bass.
- Investigate doubled tracks or multi-mic recordings that become hollow.
- Bypass wideners, chorus and stereo delays if an element disappears.
- Use mono to refine EQ competition between midrange instruments.
- Return to stereo frequently; do not mix the entire project in mono unless that workflow helps you.
- Check at low volume where balance problems are obvious.
- Finish with stereo, mono, headphones and at least one small-speaker translation check.
Common Mistakes
- Panicking because mono sounds narrower
- Trying to make stereo and mono identical
- Using only a correlation meter
- Leaving mono checks until mastering
- Making every sound mono-safe by removing all width
Guided Practice
Spend five minutes balancing the busiest section in mono using only faders. Return to stereo and restore any width that still supports the arrangement.
Key takeaway: Use the technique with intention and make level-matched A/B comparisons. Settings are starting points, not fixed rules.
Turn this lesson into a 20-minute mix drill
1
Duplicate
Save a copy of the session before changing the mix.
2
Solo less
Make every move while the main groove or vocal context is playing.
3
Level match
Bypass the change at equal loudness so louder does not trick you.
4
Export
Print a short before/after bounce and listen away from the DAW.