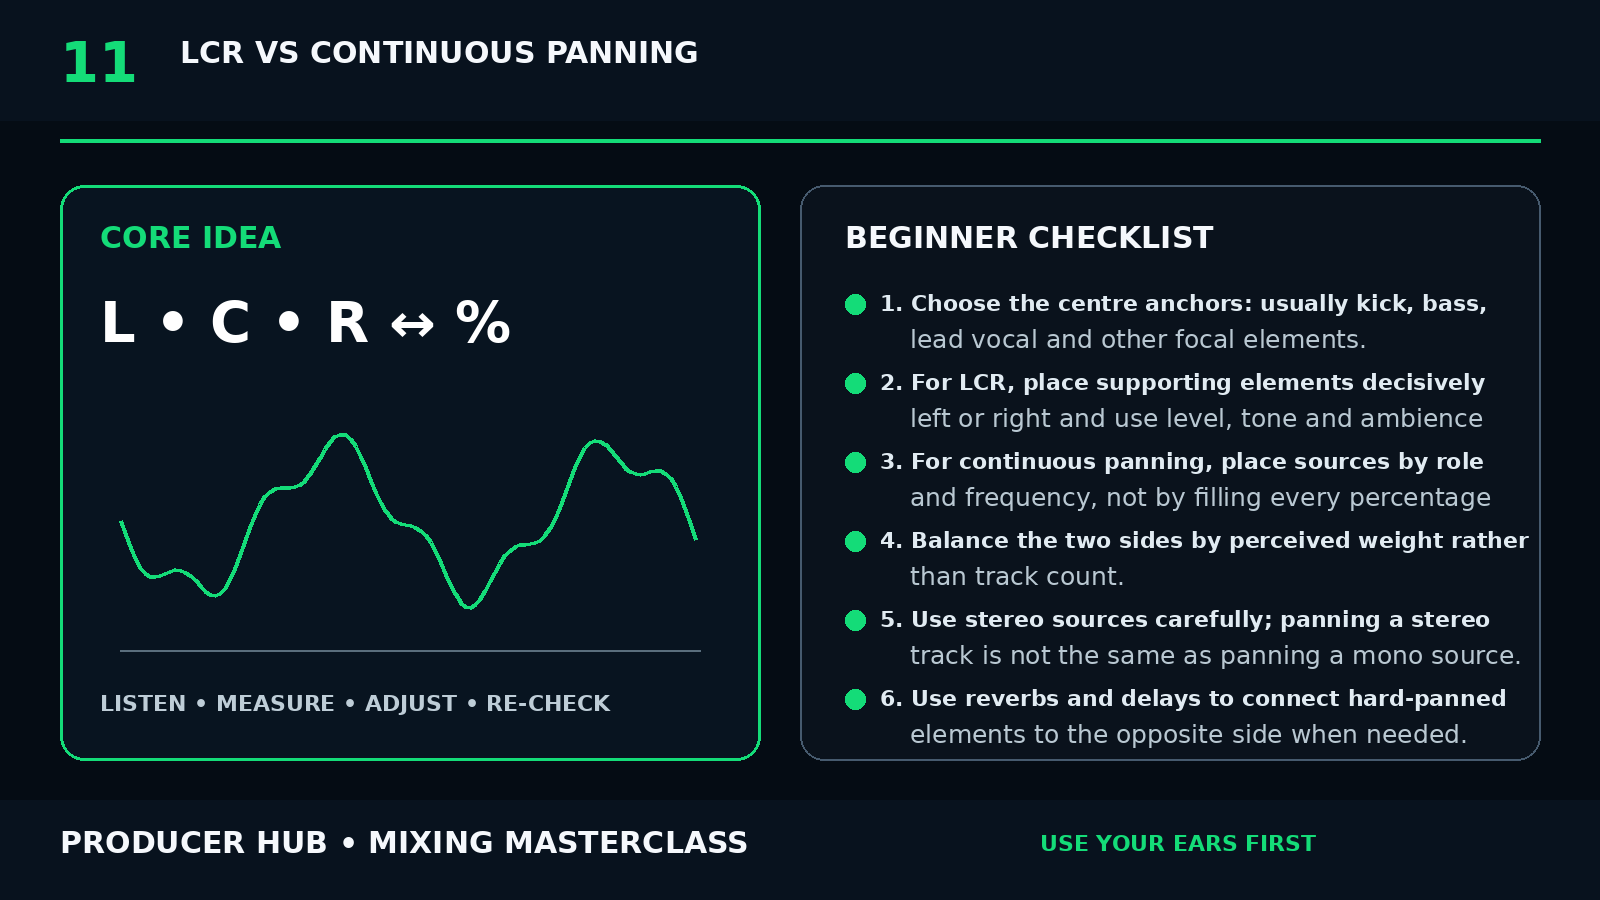
The Core Concept
LCR panning restricts decisions mainly to hard left, centre or hard right. Continuous panning allows any position between the speakers.
LCR can create decisive separation in dense productions. Continuous panning can create more graduated, natural or cinematic placement.
Neither method is inherently more professional. The arrangement and desired image determine the best approach.
Step-by-Step Tutorial
- Choose the centre anchors: usually kick, bass, lead vocal and other focal elements.
- For LCR, place supporting elements decisively left or right and use level, tone and ambience to create depth.
- For continuous panning, place sources by role and frequency, not by filling every percentage position.
- Balance the two sides by perceived weight rather than track count.
- Use stereo sources carefully; panning a stereo track is not the same as panning a mono source.
- Use reverbs and delays to connect hard-panned elements to the opposite side when needed.
- Check mono to ensure hard-panned effects do not disappear.
- Automate panning only when movement supports the arrangement.
- Compare both approaches on the same chorus.
- Choose the method that makes the song clearer and more emotionally convincing.
Common Mistakes
- Panning by numbers instead of listening
- Keeping everything near the centre out of fear
- Hard-panning every layer in a sparse acoustic mix
- Ignoring stereo track width controls
- Trying to make left and right mathematically identical
Guided Practice
Duplicate a rough mix. Make one version strictly LCR and one with continuous panning. Match levels, then compare clarity, depth and mono compatibility.
Turn this lesson into a 20-minute mix drill
Duplicate
Save a copy of the session before changing the mix.
Solo less
Make every move while the main groove or vocal context is playing.
Level match
Bypass the change at equal loudness so louder does not trick you.
Export
Print a short before/after bounce and listen away from the DAW.