The Core Concept
A group or bus receives and sums audio. You can process that combined audio with EQ, compression, saturation and other effects.
A VCA controls the gain of assigned channel faders without passing or summing their audio through the VCA itself.
They solve different problems: buses are for shared signal processing and routing; VCAs are for coordinated level control.
Step-by-Step Tutorial
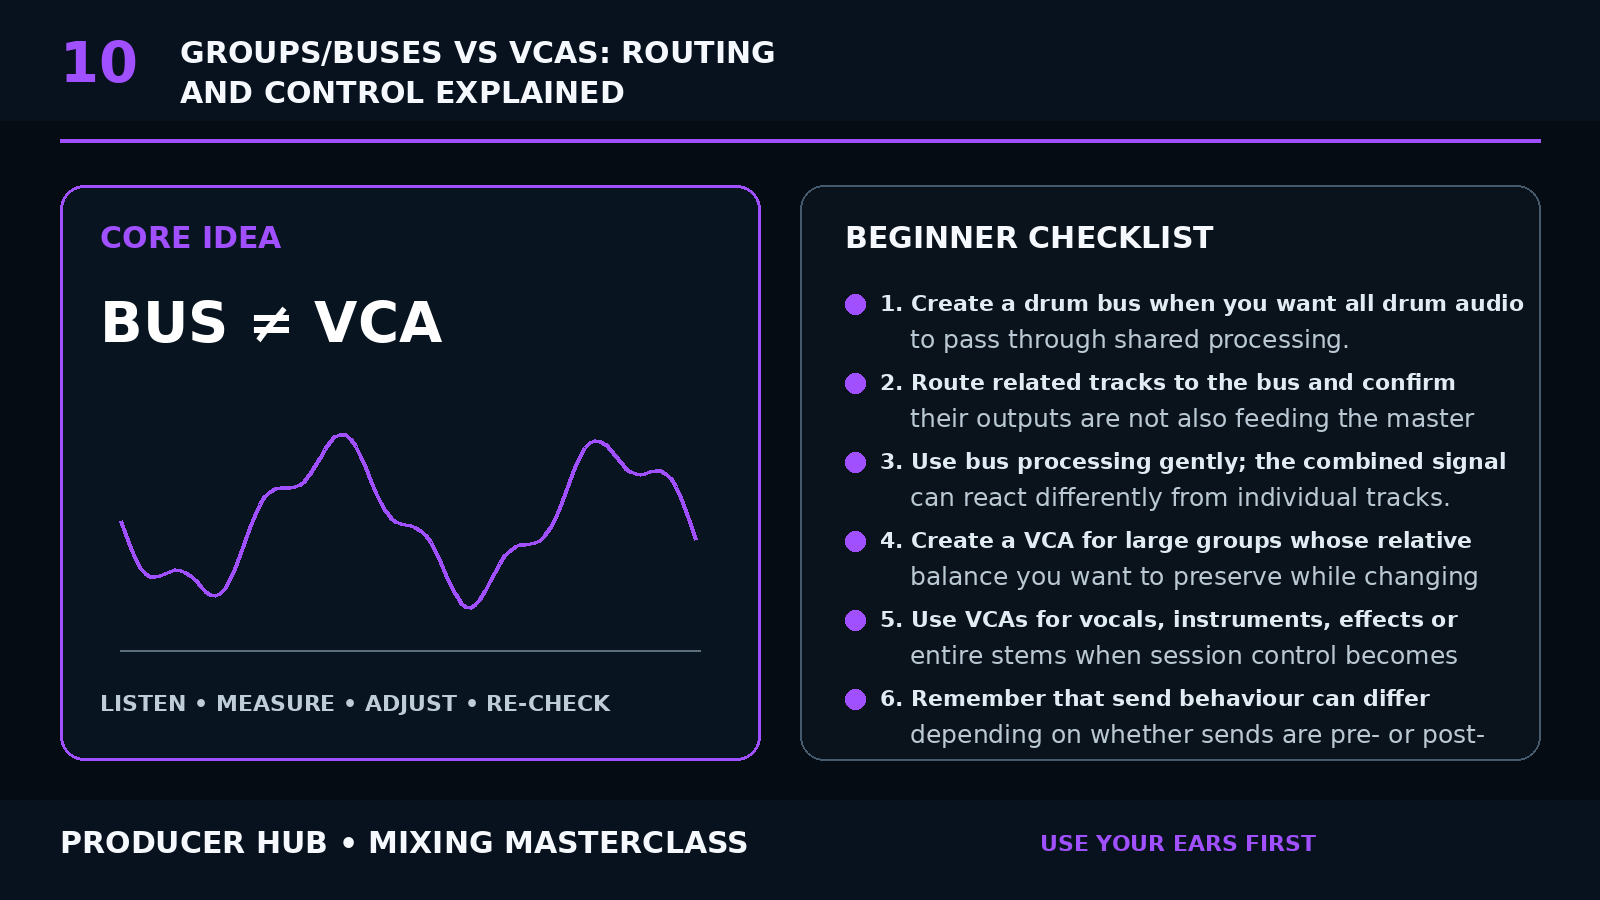
- Create a drum bus when you want all drum audio to pass through shared processing.
- Route related tracks to the bus and confirm their outputs are not also feeding the master directly unless intentional.
- Use bus processing gently; the combined signal can react differently from individual tracks.
- Create a VCA for large groups whose relative balance you want to preserve while changing overall level.
- Use VCAs for vocals, instruments, effects or entire stems when session control becomes complex.
- Remember that send behaviour can differ depending on whether sends are pre- or post-fader. Test your DAW’s implementation.
- Use both together: drums can feed a drum bus while the drum channels are also controlled by a VCA.
- Label buses and VCAs clearly.
- Automate the VCA when you want a coordinated level move without changing bus tone.
- Check routing for double paths and unexpected gain changes.
Common Mistakes
- Assuming a VCA carries audio
- Using a bus only as a remote fader when no shared processing is needed
- Creating double-routing to the master
- Ignoring pre/post-fader send behaviour
- Using vague names in large sessions
Guided Practice
Build a session with a drum bus and a drum VCA. Put compression on the bus, then move the VCA. Observe how the VCA changes the level hitting the bus processor and therefore can also change how hard the compressor works.
Turn this lesson into a 20-minute mix drill
Duplicate
Save a copy of the session before changing the mix.
Solo less
Make every move while the main groove or vocal context is playing.
Level match
Bypass the change at equal loudness so louder does not trick you.
Export
Print a short before/after bounce and listen away from the DAW.